Arduino Python LED control Tutorial

Arduino python led control
Hello makers Arduino python LED control tutorial is the first post in our tutorial series of Arduin and python interaction.
We’ll start with very basic and gradually moves step by step towards more advanced Arduino Python interaction tutorials.
In this post we’ll see how we can turn arduino on board LED ON and OFF from python.
This post is very basic level so first of all we begin with a short introduction of Python programming language .
Brief Introduction of Python programming language
Python is general purpose High Level programming language
We all know that python is one of the most rapidly growing programming language
Because python is very easy to use and understand.
There are huge number of libraries available for python it makes python very much interactive and more practical to use.
All we hear about Artificial intelligence and machine learning all this is possible with python programming.
There is huge and endless applications of python out there.
but in this Arduino Python tutorial series we only focus on how we can use python language to Interact with Arduino. So here we go.
Hardware required
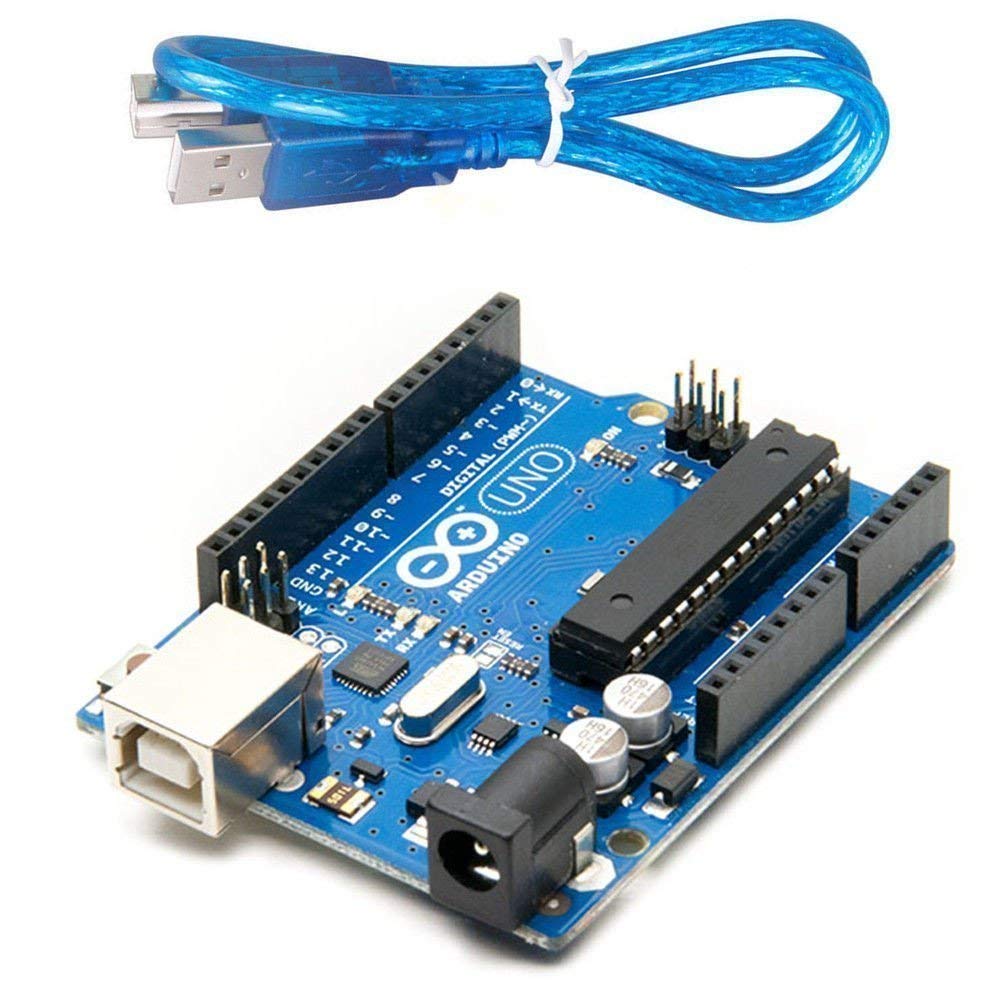
For this basic Arduino python LED control tutorial we can use any of Arduino Micro controller, one arduino programming cable , and one Laptop or Desktop PC.
Software Required
Arduino IDE, Python and Spyder(anaconda)
download all the above software and simply install them on your system
Arduino IDE is used to programm arduino.
Python is our core programming language package.
PyCharm is the IDE where we write and execute our python code.
We can also write and execute python code in inbuilt editor of python package but I’ll recommended to use Spyder IDE I like to use it because it have auto suggestion option.
Arduino Code
upload the below code to arduino using arduino IDE
int LED = 13;
int val = 0;
void setup() {
  Serial.begin(9600);
  Serial.flush();
  pinMode(LED, OUTPUT);
  digitalWrite(LED, LOW);

}

void loop() {
  if (Serial.available() > 0){
    val = char(Serial.read())-'0';
    if(val == 1){
      digitalWrite(LED, HIGH);
      }
    if(val == 0){
      digitalWrite(LED, LOW);
      }
  }
}
Let me explain basic about this arduino code, we have intiate inbuilt LED of arduino microcontroller which is connect at pin 13,
we also initiated serial communication at 9600 baud rate.
so whenever we recive “1” over serial communication LED became turn ON.
and when receive “0” over serial communication LED became turn OFF.
Python Code
before proceeding in Python we need to add a dependency Library called PYserial, this will help us to set serial communication between arduino and python.
At this point you have installed Spyder anaconda in your system so go to start menu and type Anaconda and open the “Anaconda Prompt” and type

pip install pyserial
and hit enter the dependency library will install automatically.

After this you can write or Copy past following code to the IDE and hit RUN or F5 to execute the code
import serial as s
import time as t
ser = s.Serial('com7', 9600, timeout=0)   # check your com port
t.sleep(2)
print(ser.name,"connected")
print("Enter 1 to ON LED & 0 to OFF LED")

while 1:
    input_data = input()
    print("you enterd", input_data)

    if (input_data == '1'):
        ser.write(b'1')
        print ("LED ON")
    if (input_data == '0'):
        ser.write(b'0')
        print ("LED OFF")
    if (input_data == '3'):
        ser.close()
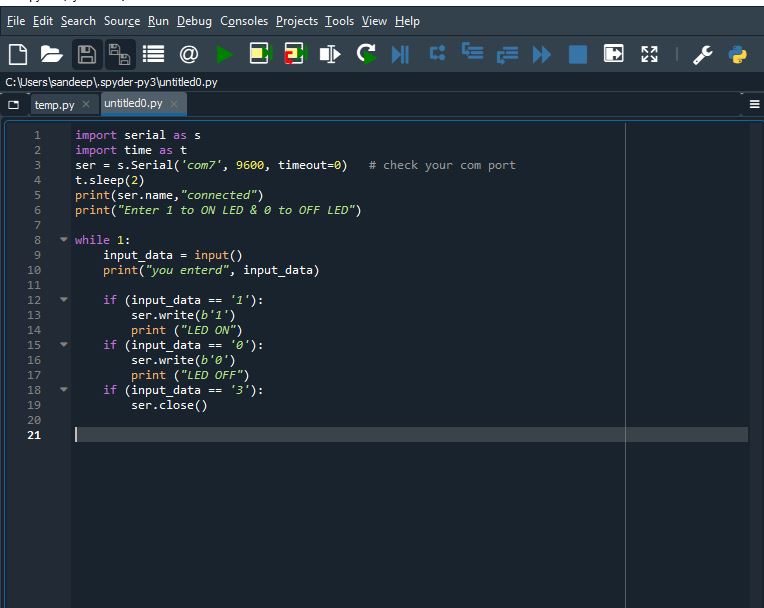
In line number 3 ‘com7’ you can replace it with at what port your arduino is connected.
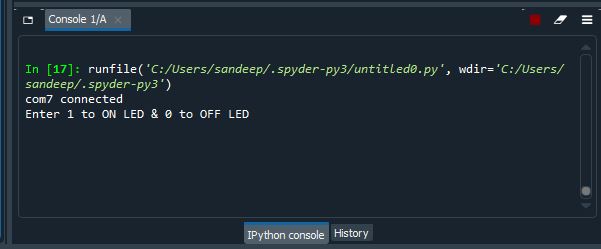
When you execute code by pressing F5 you will have instruction in console like connection is done now you can enter here your command to Control LED

