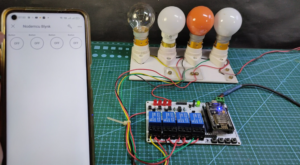
Arduino Nano ESP32 based Home automation project
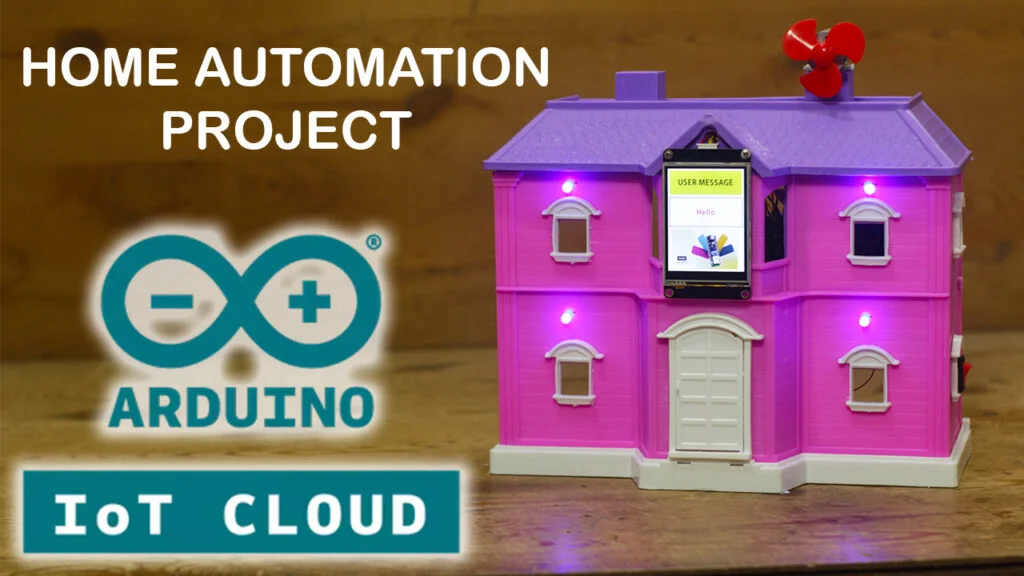
Hello friends this time create a cool home automation project using Arduino nano ESP32 IOT board.
Arduino nano ESP 32 is the newly launched IOT board from Arduino.cc,
This new board have awesome feature of wifi and Bluetooth connectivity this make this little board perfectly fits for IOT based project.
And in combination with Arduino IOT cloud we can perform all range of automation projects.
Arduino IOT cloud is a web based platform to connect and control multiple devices over internet wirelessly.
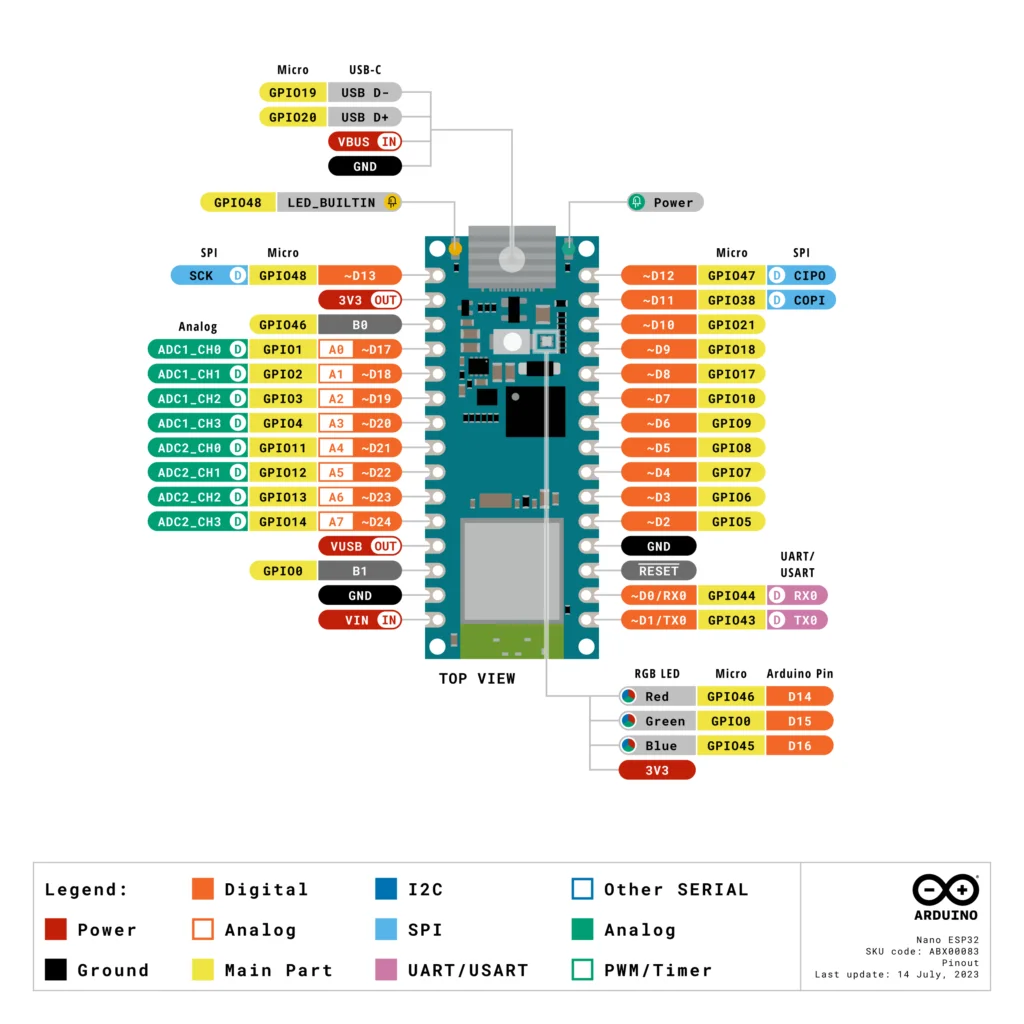
Arduino Nano esp32 pinout
If you setup your IOT project on Arduino IOT Cloud then you can control your project from anywhere in the world over internet from PC or mobile APP.
and code is to upload from IOT cloud web server, to handle this we first need to install “Arduino create agent” this is only one time installation then it will automatically keeps running in background.
you can Download “Arduino create agent” from here.
$ https://create.arduino.cc/getting-started/plugin/welcome $
How to install Arduino create agent
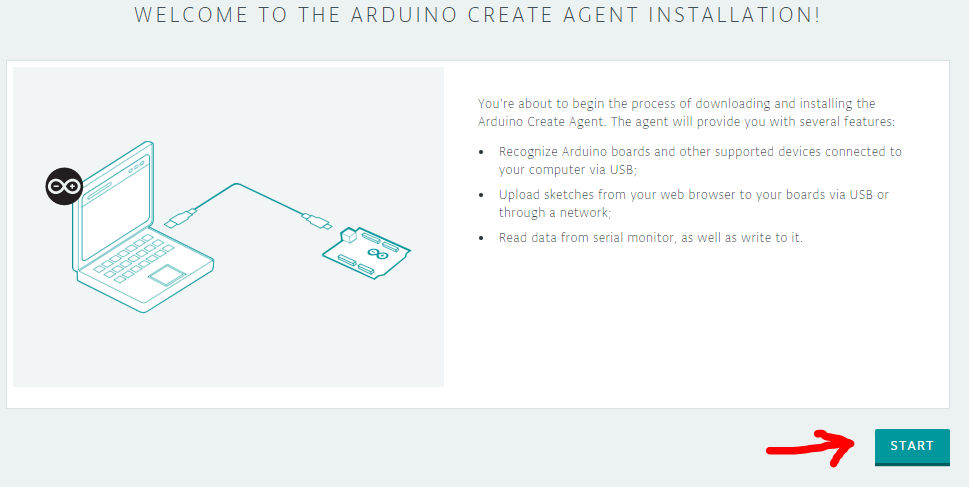
This is the home screen for Arduino create agent simple Click on “START”
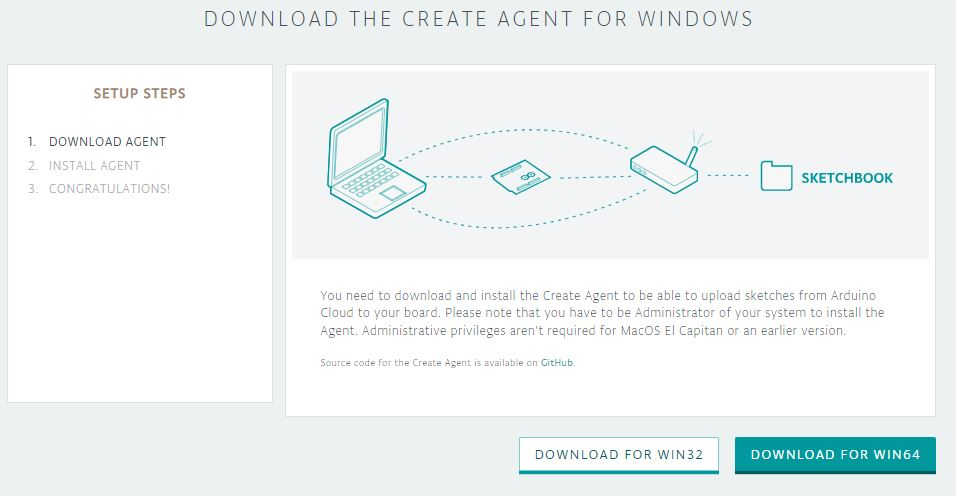
No proceed as per your system Architect
32 bit or 64 bit,
“ArduinoCreateAgent” will Automatically download to the download folder.
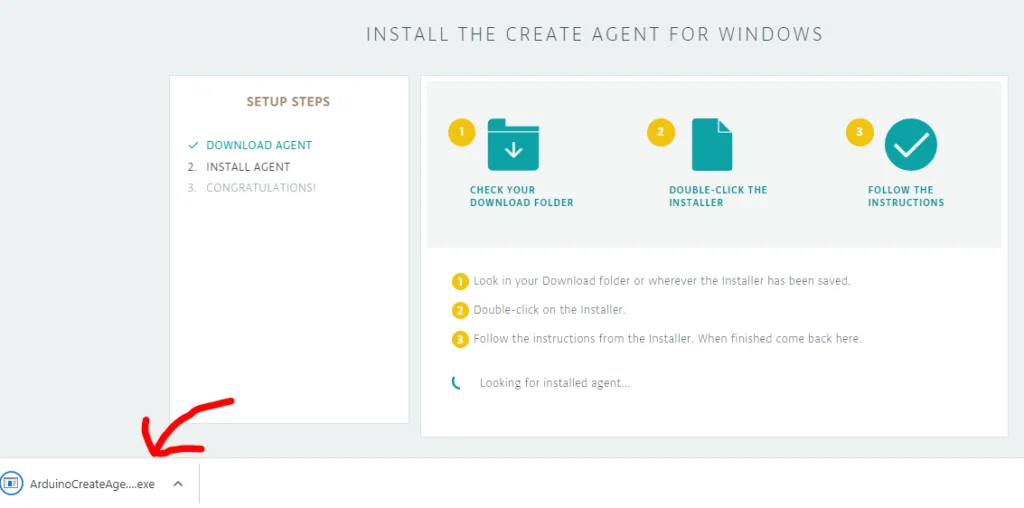
As soon as file download launch it and do not close this window till.
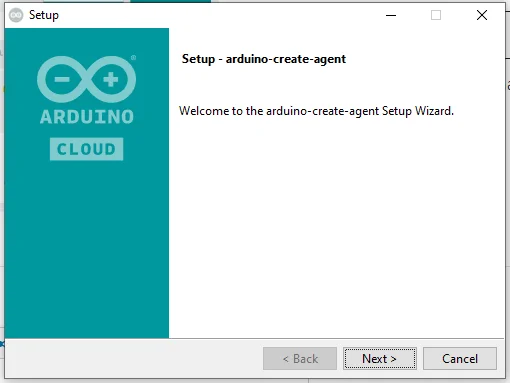
Click next to proceed further
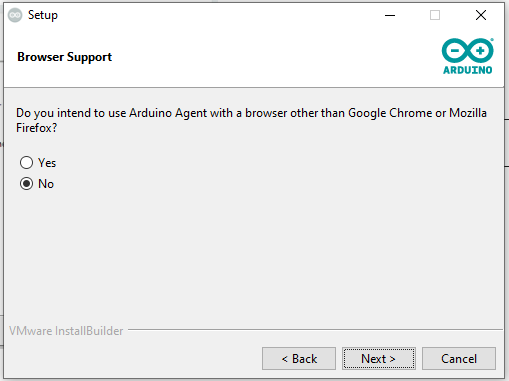
At this page select yes if you use browser for Arduino IOT cloud other then Chrome and Mozilla

Arduino create agent installation is complete by clicking on Finish and it is already running in back ground.
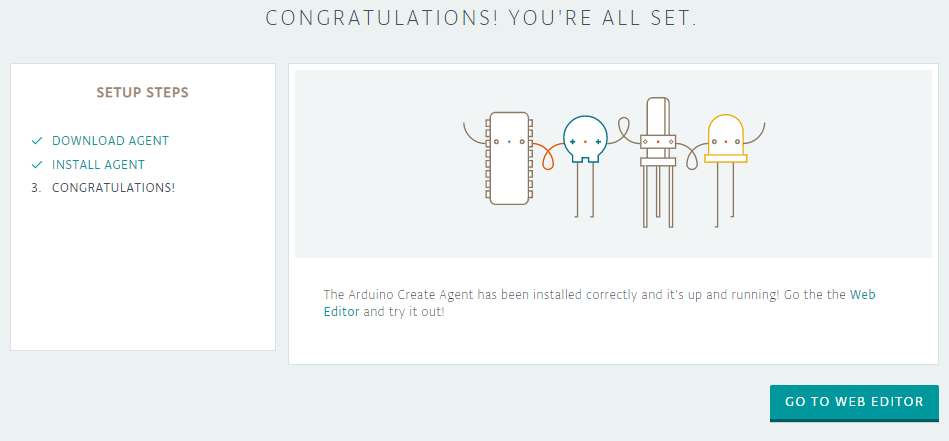
At this point we are ready with Arduino create agent this is the only one time installation, you don’t need this step any more in future as far as arduino create agent is installed in your system.
Arduino IOT cloud Setup
Setting up Arduino IoT Cloud involves several steps to connect your Arduino board to the cloud platform. Here’s a simplified guide in five steps:
- Create an Arduino IoT Cloud Account:
- Visit the Arduino IoT Cloud website (https://create.arduino.cc/iot) and sign up for an account.
- Use your existing Arduino account or create a new one.
- Add a Device to Your Account:
- Log in to your Arduino IoT Cloud account.
- Click on the “Devices” tab and then “Add Device.”
- Select the appropriate board from the list of supported boards (e.g., Arduino MKR WiFi 1010).
- Give your device a name and select the communication method (e.g., Wi-Fi or Ethernet).
- Install Required Libraries:
- Open the Arduino IDE on your computer.
- Go to “Sketch” > “Include Library” > “Manage Libraries.”
- Search for and install the “ArduinoIoTCloud” library.
- Install any additional libraries required for your specific board or project.
- Configure and Upload Sketch:
- In the Arduino IDE, go to “File” > “Examples” > “ArduinoIoTCloud.”
- Choose the example sketch that matches your board and communication method.
- Edit the sketch to customize variables, functions, and data you want to monitor/control remotely.
- Save your changes and upload the sketch to your Arduino board.
- Connect Device to IoT Cloud:
- Power up your Arduino board and ensure it’s connected to the internet.
- On the Arduino IoT Cloud website, navigate to your device’s dashboard.
- Click on “Connect” to initiate the connection between your device and the cloud platform.
- Once connected, you’ll be able to monitor and control your device remotely through the Arduino IoT Cloud dashboard.
To easily understand How to setup Arduino IOT Cloud ecosystem you can watch this video
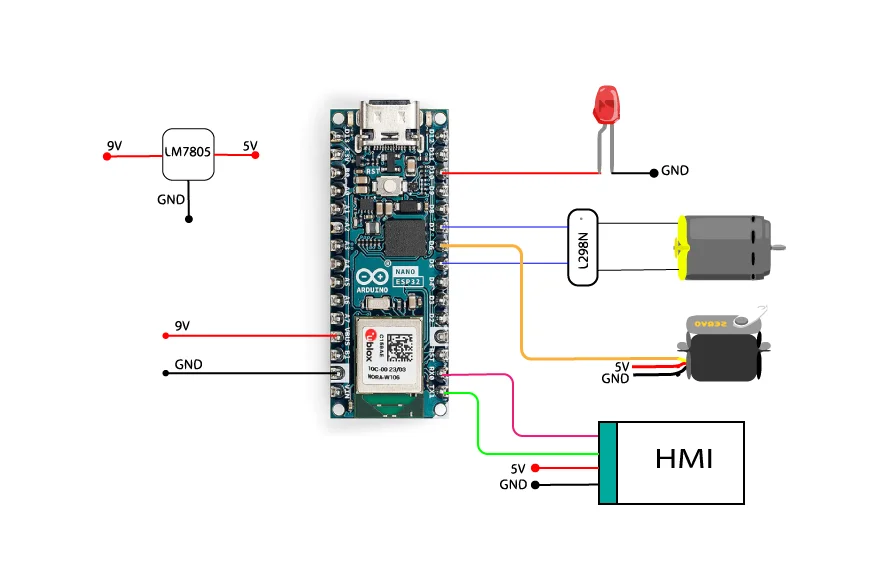
Wiring connection Diagram