Getting Started with Raspberry Pi Pico
Getting Started with Raspberry Pi Pico
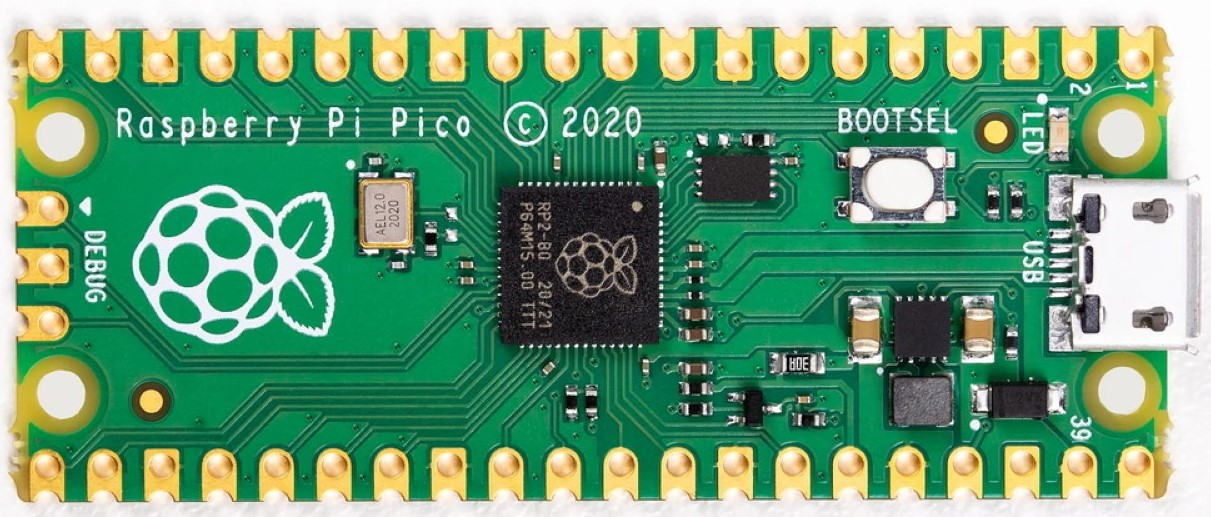
Raspberry Pi Pico, Microcontroller from Raspberry Pi. It has a RP2040
Microcontroller. You can program it with C/C++ or MicroPython.so let Getting Started with Raspberry Pi Pico.
Specifications
RP2040 microcontroller chip.
264KB on-chip RAM
2MB on-board QSPI Flash
Dual-core Arm Cortex-M0+ processor
Flexible clock running up to 133 MHz
26 multifunction GPIO pins
3 analog inputs
2 × UART, 2 × SPI, 2 × I2C, 16 × PWM pins
Supported input voltage 1.8 – 5.5V DC
Operating temperature -20°C to +85°C
On board temperature sensor
Getting started with MicroPython
In this article, we are going to program Raspberry Pi Pico with MicroPython.
To upload program in Raspberry Pi Pico we have to install MicroPython on it. So,
To install MicroPython follow the below steps.
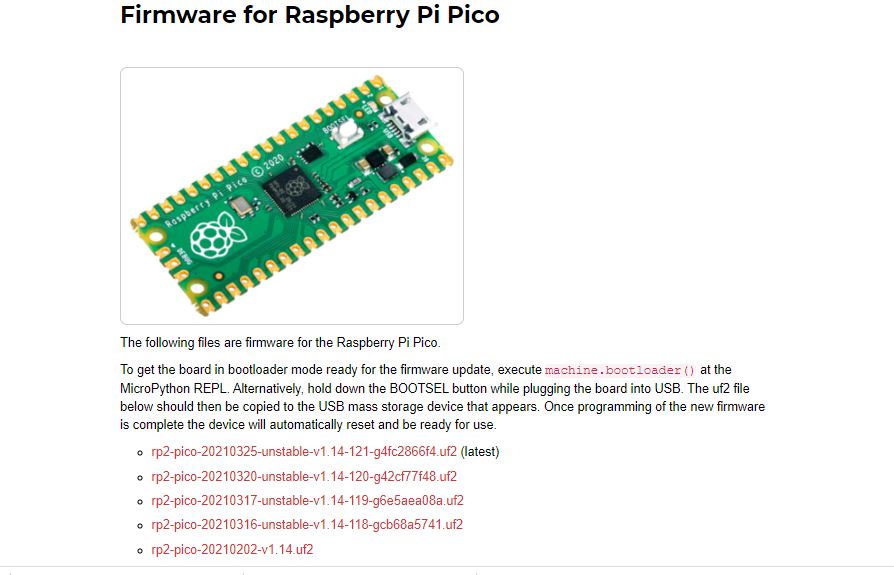
- Download the UF2 file from here.
- Push and hold BOOTSEL button and plug your Pico into the USB port of
computer or raspberry pi, now release BOOTSEL button after connected. - It will mount as a Mass Storage Device named RPI-RP2
- Now, UF2 file which we download earlier drag and drop into the RPI-RP2
volume.
Write and Upload program
To Getting Started with Raspberry Pi Pico & write and upload program in raspberry pi Pico, here I used ThonnyIDE. You
can download ThonnyIDE from here.
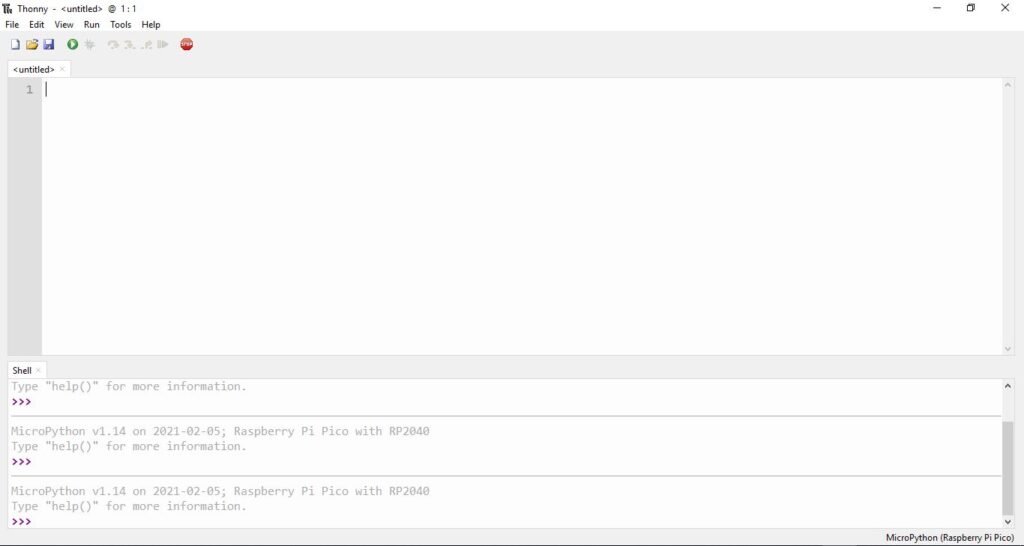
According to your operating system download ThonnyIDE and install it. You
have to just follow basic steps to install it. After installing open ThonnyIDE and
connect raspberry pi Pico. When you connect Pico, you can see storage of Pico
on left side if you don’t see just press stop button and then you can see window
as below.
Now, let’s write code.
Here we take one example of simple LED blinking, we will write code to blink
led. Here we write code in MicroPython
Code
from machine import Pin
import time
These 2 lines Import libraryled = Pin(25, Pin.OUT)
Here I defined led as an object, and set 25 th number pin of pico as an output
because pico has inbuilt led on 25 th number pin. So, we are going to blink that
inbuilt led.
while True:
 led.value(1)
 time.sleep(1)
 led.value(0)
 time.sleep(1)
Then I put main command in while loop, in a while loop command will execute
continuously. In a while loop first I write led.write(1) it means we are doing led
pin high and it will turn on led, then time.sleep(1) this command will wait for 1
second because it is a delay command, if you want more delay than change
value in bracket. Then led.write(0) this will turn off led and then once again 1
second delay and this commands run continuously because we write in while
loop. Below is full final code.
from machine import Pin
import time
led = Pin(25, Pin.OUT)
while True:
 led.value(1)
 time.sleep(1)
 led.value(0)
 time.sleep(1)
Now, save this code in raspberry pi pico as “main.py”. If you want that when
you power the raspberry pi pico and particular program to run then you have to
save that program as main.py name. After saving the program, press the green
run button. And then you can see LED will turn on for 1 second and off for 1
second and blinking continuously.