How to program ESP32 using Arduino IDE | WROOM ESP32
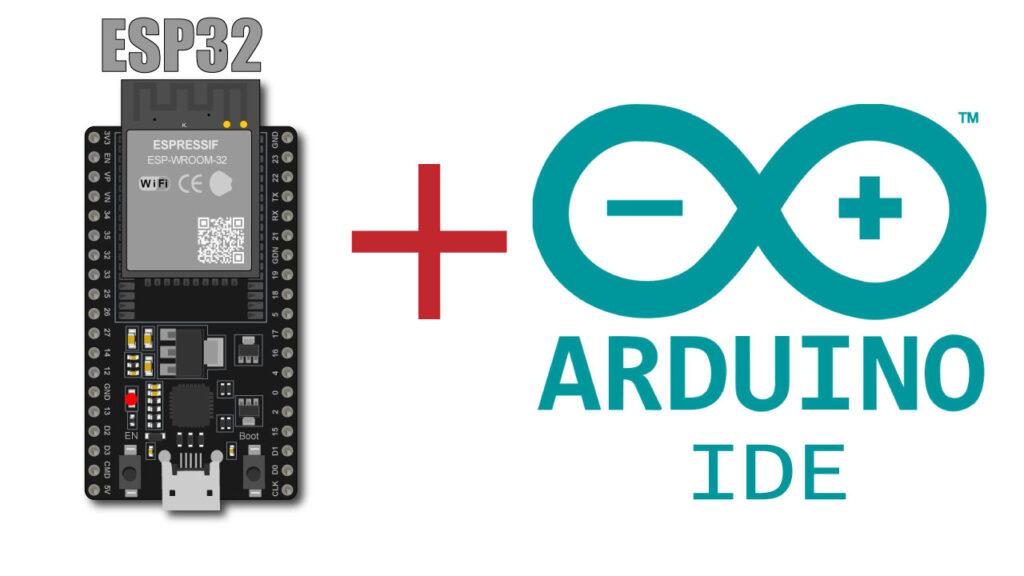
ESP32 PROGRAM WITH ARDUINO IDE
Hello friends in this post we learn how to program ESP32 nodeMCU using Arduino IDE.
Now days ESP 32 is very famous among the developers and hobbyist, the main reason it its very cheap and powerful among any other available microcontrollers.
And that is not it it have in built WIFI this make ESP32 demanding in IOT projects.
On other hand Arduino IDE is also very famous and favorite IDE among the hobbyist an professionals
So in this project we take both of them in one frame and learn how to program and upload code to ESP32 using arduino IDE
Before we move further it must you have installed Arduino IDE on your system, if you don’t no problem just download a it according to your system from the link given below.
https://www.arduino.cc/en/software
It is good if you can download the latest version of Arduino IDE.
Adding ESP8266 Board in Arduino IDE
Now we have the Arduino ready in our system, but by default in Arduino IDE there is no board manager for ESP32.
Don’t worry just follow below instructions step by step and you are ready to program ESP32
- Open the Arduino IDE
- Go to File > Preferences
- In the “Additional Board Manager URLs” field, enter the following URL: https://raw.githubusercontent.com/espressif/arduino-esp32/gh-pages/package_esp32_index.json
- Click OK

- Go to Tools > Board > Boards Manager
- Search for “esp32” and select the “esp32 by Espressif Systems” package
- Click Install
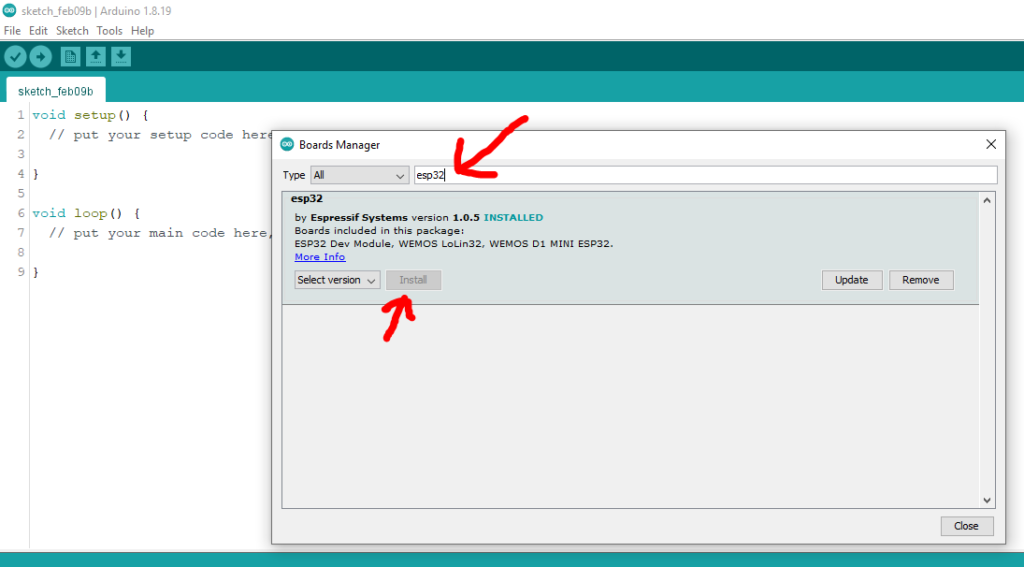
After completing this process you have installed the ESP board in board manager
now finally its time to upload code to ESP32 so keeping the example very basic we upload LED blink code to ESP32.
ESP32 LED Blink example using Arduino IDE
Open the Arduino IDE copy and past the following code to Arduino IDE
int LED = 32; // Assign LED pin i.e: 32 on ESP32

void setup() {

// initialize GPIO 32 as an output

pinMode(LED, OUTPUT);

}

// the loop function runs over and over again forever

void loop() {

digitalWrite(LED, HIGH); // turn the LED on
delay(1000); // wait for a second
digitalWrite(LED, LOW); // turn the LED off
delay(1000); // wait for a second

}
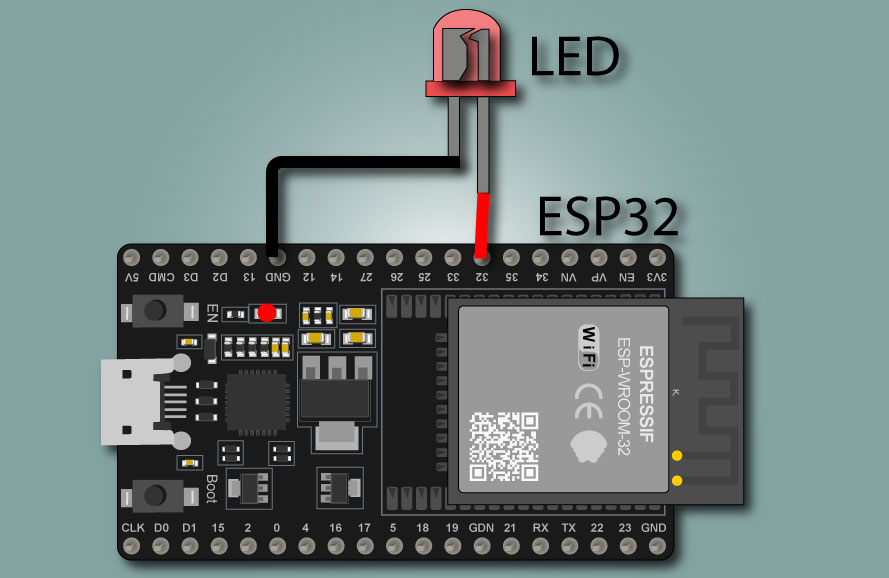
Attached the LED as shown in the image I have attached the LED at pin 32 if you change the LED pin please make sure accordingly you have changed it in code as well.
