How to use OV7670 Camera module with arduino taking live pictures
How to connect OV7670 Camera module with arduino
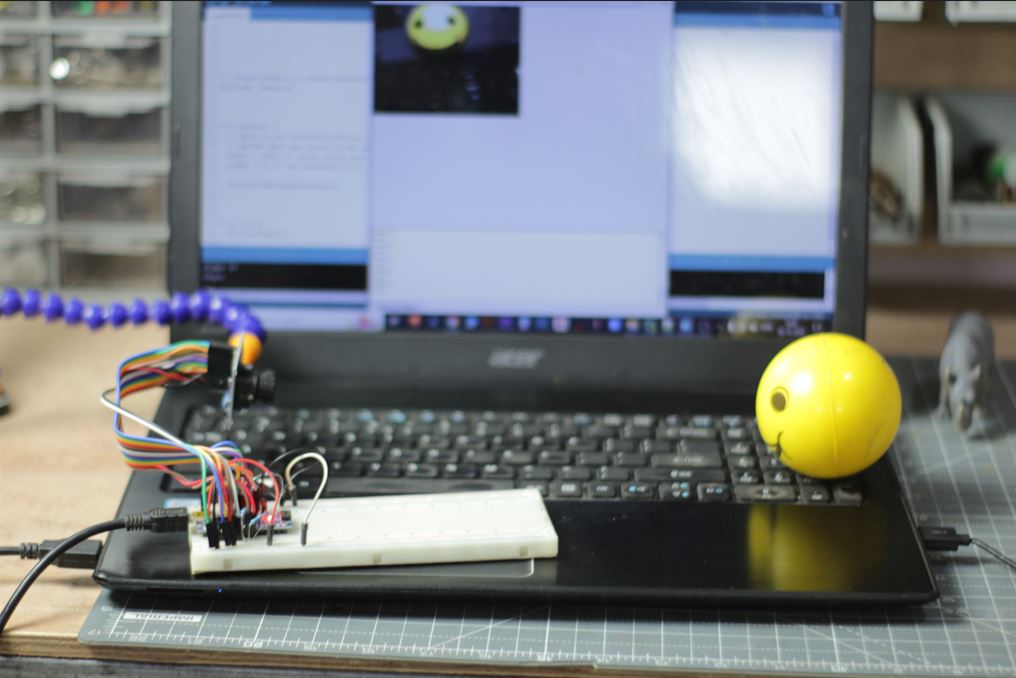
Hello friends in this post we will learn how simply we can connect OV7670 Camera module with arduino also streaming and saving live pictures to the computer.
There are some tutorials available on internet but they are very much complicated, so I bring a very simplified and straight forward method to connect OV7670 camera module with arduino.
We can see pictures in Arduino IDE itself and also save the images on computer very easily.
Component Require
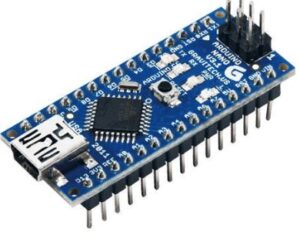
- Arduino Nano
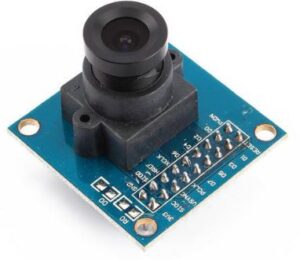
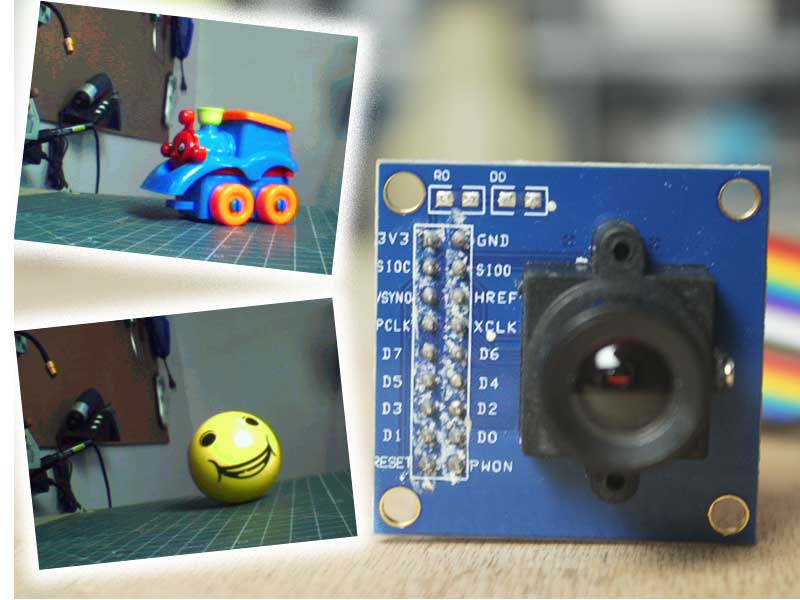
2. OV7670 Camera Module
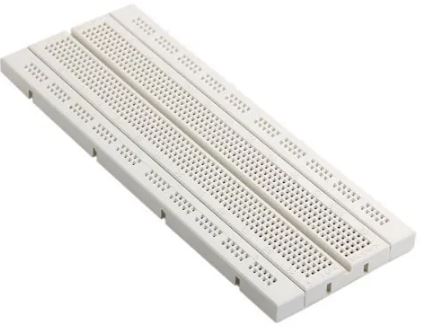
3. Bread Board
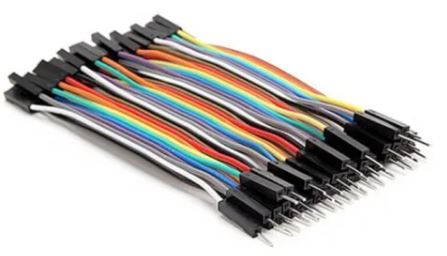
4. Jumper Wire (M to F)
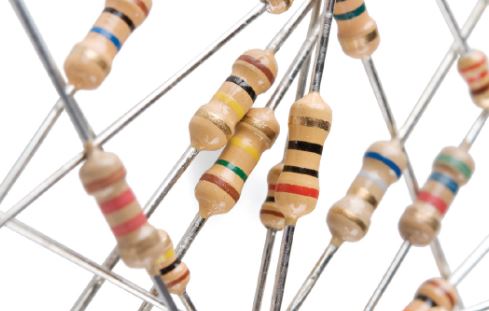
5. 2 x 10K ohm Resistor
1 X 1K ohm Resistor
1 x 680 ohm Resistor
OV7670 Camera Image streaming Tool for Arduino
So after collecting all the required components we first need to add a tool package in Arduino IDE.
This tool is required to view the images coming from OV7670 Camera module.
I get this tool from the very interesting site the name of this tool is ArduImageCapture
So first of all please download this tool from the link given below
Extract the zip file and copy the “ArduImageCapture” folder into your Arduino “tools” folder next to the Arduino “libraries” folder. If the “tools” folder doesn’t exist, then you can create it yourself.
On Windows:
C:\Users\<username>\Documents\Arduino\tools
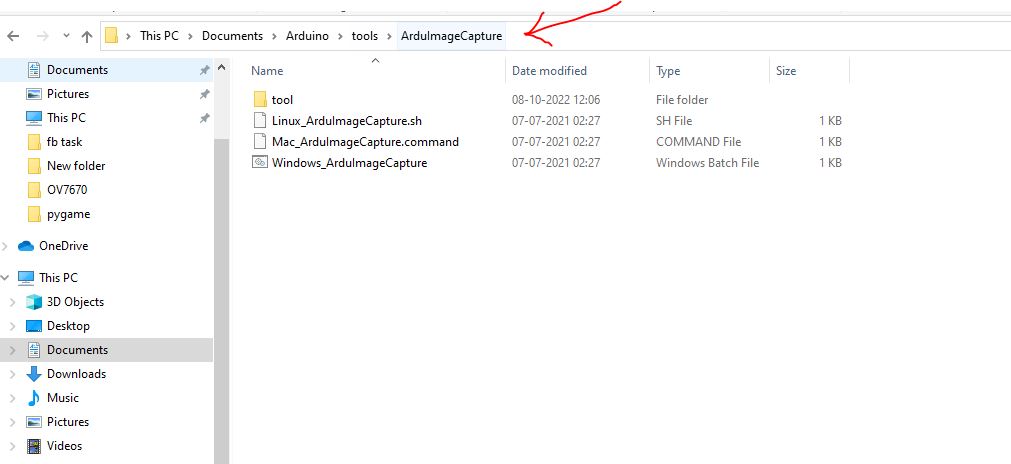
After pasting the folder as shown above now open the Arduino IDE
Now open the tools tab if everything is fine you will be able to see a option called ArduImageCapture
So in this way we successfully loaded the image streaming tool to Arduino.
Now we can move towards to upload code to Arduino Nano.
Arduino Code
You can download the Arduino Code from the GITHUB by using link below
https://github.com/indrekluuk/LiveOV7670
Extract the downloaded ZIP file.
Copy the two libraries “LiveOV7670Library” and “Adafruit_GFX_Library” from “src/lib” to your Arduino “libraries” folder.
On Windows:
C:\Users\<username>\Documents\Arduino\libraries
If you already have “Adafruit_GFX_Library” in library folder no need to copy it or
you can overwrite it.
Now we can move towards to upload code to Arduino Nano
Open the arduino IDE and open the arduino code file ” LiveOV7670.ino “
C:\Download\LiveOV7670-master\LiveOV7670-master\src\LiveOV7670
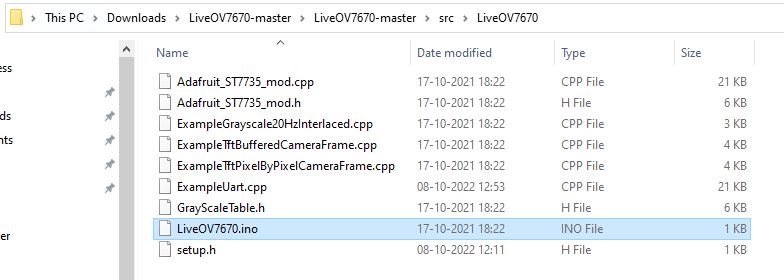
After opening this LiveOV7670.ino file in Arduino IDE go to the setup.h file tab.
and change the EXAMPLE definition as below
#define EXAMPLE 3
After completing the above change upload the code to Arduino.
Before doing the wire let we test that till here we did everything correct or not.
let Arduino connected with PC select the proper port and device and open ArduImageCapture
from Tools option in Arduino IDE
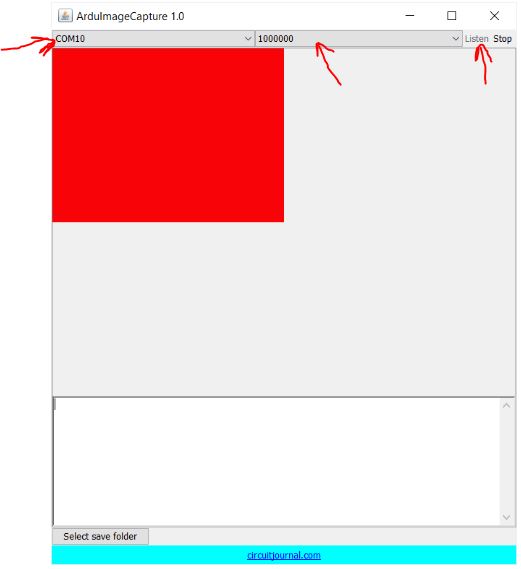
When such window is open set the rate to 1000000 and click on listen.
if everything is correct you will able to see the red Image means our code is working fine and in sync with ArduImageCapture tool.
If you face any problem to get this red screen
In those cases, select the “ExampleUart.cpp” tab and change the definition to:
#define UART_MODE 9
Now again upload the code to arduino and check it once again.
If it works fine now it is time to do wiring
Wiring Diagram
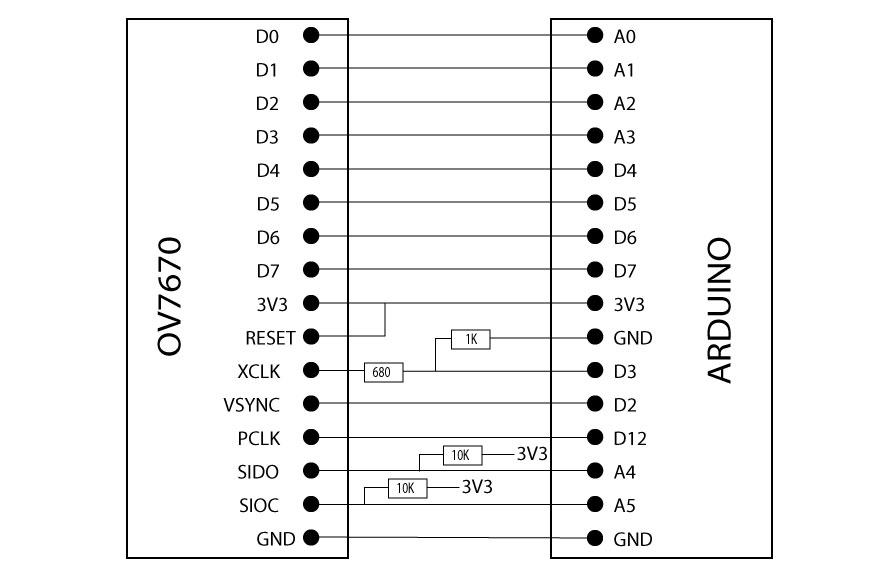
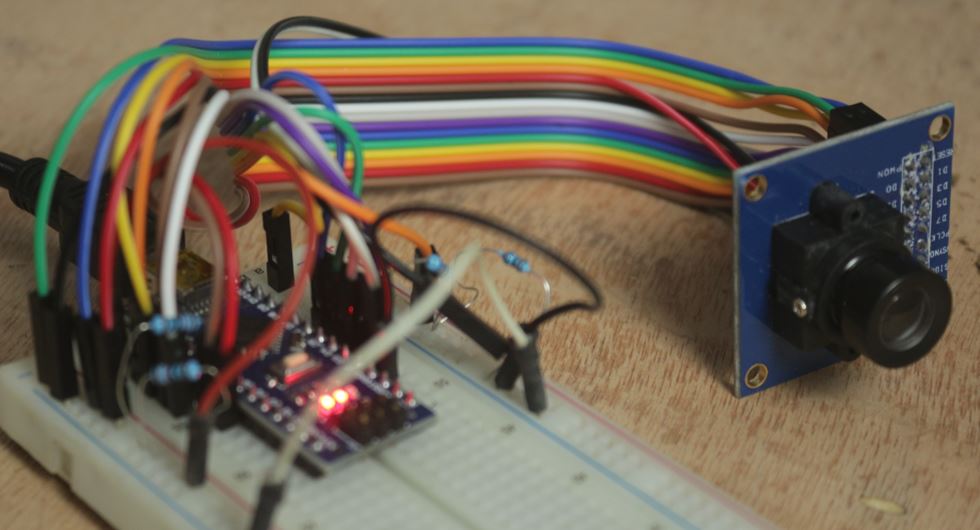
please do the wiring as shown in the diagram above
After completing the wiring connect arduino with PC open Arudino IDE select the right port and device and open the ArduImageCapture from tools set rate to 1000000 and click on listen
if everything goes well you will have the image on the screen
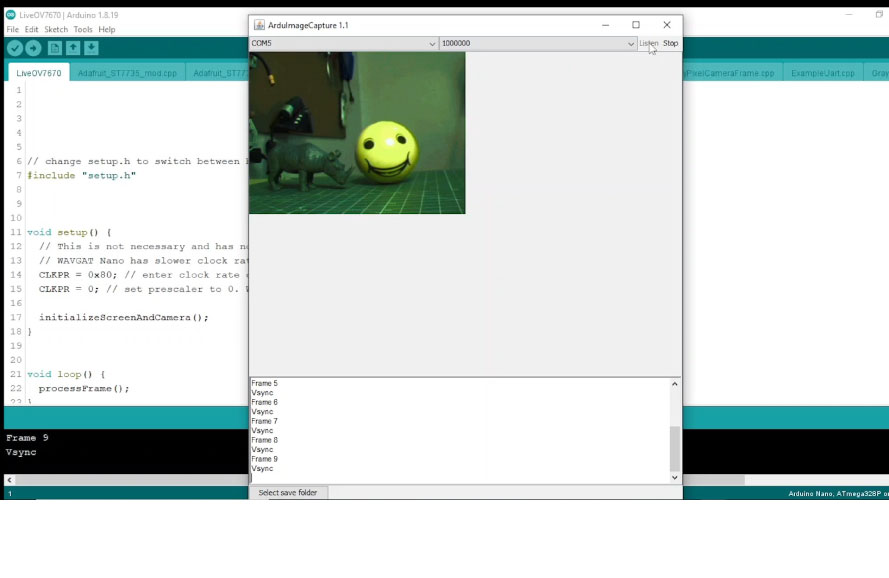
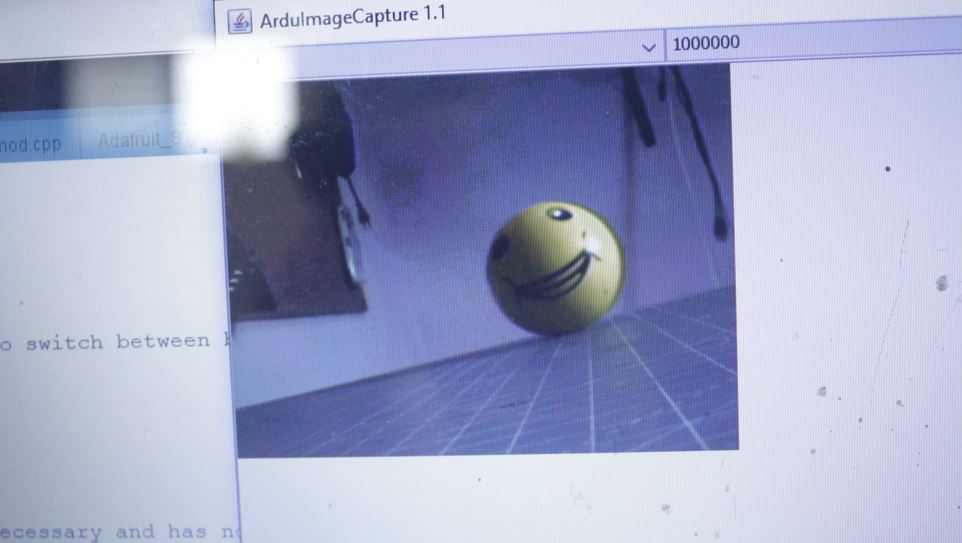
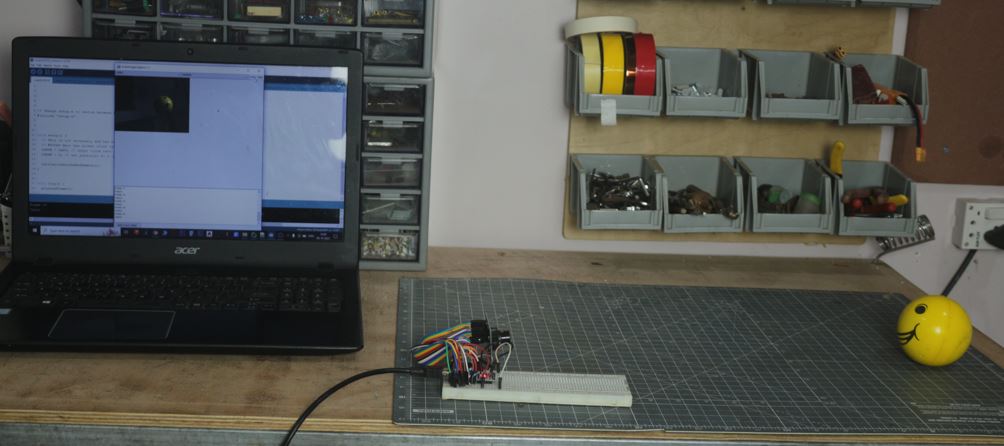

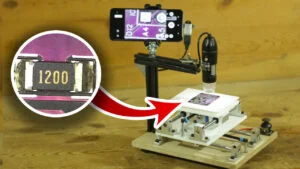
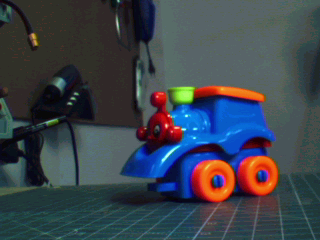
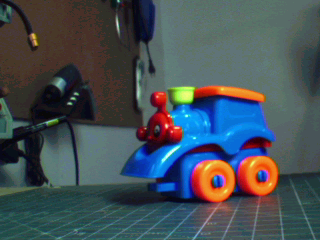
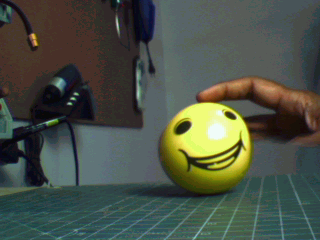
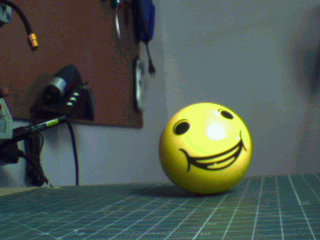
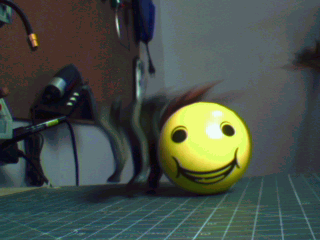
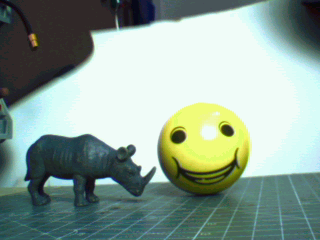
Image samples
How to save image in folder
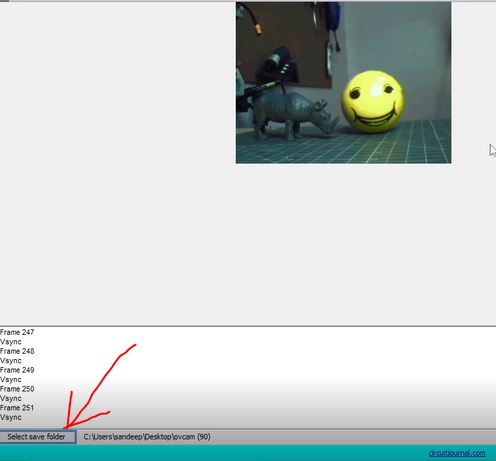
To save the images onto your PC click on Select save folder option red marked in image and set the folder to save the image.