Arduino+DHT11+SD card module temperature humidity data logger
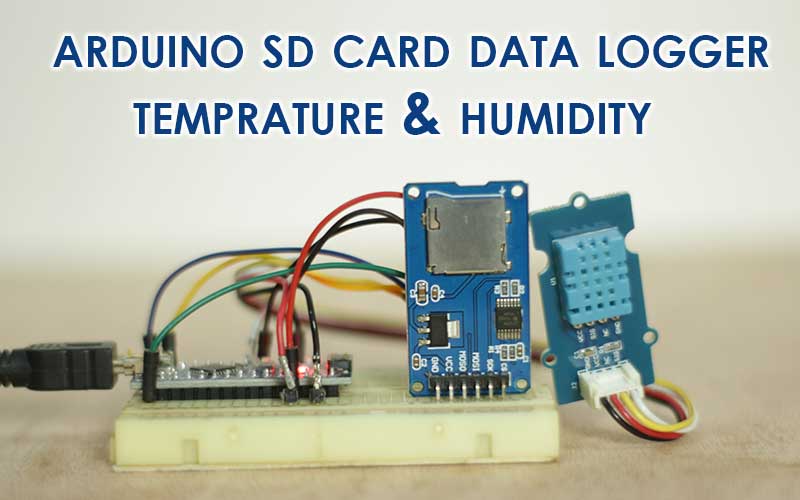
This post is about Arduino SD card data logger we will learn how to connect DHT 11 temperature and humidity sensor with arduino and log data into SD card.
Components Required
- Arduino board
- DHT 11 or DHT 22 sensor
- Micro SD Card Reader Module
- Micro SD card (I am using 8gb sd card)
- some jumper wires
- bread board
Introduction of DHT 11 Sensor
DHT 11 is very basic and low cost digital temperature and humidity sensor.
it have capacitive humidity sensor and thermistor to measure temperature and humidity of surrounding air.
it produce digital signal at data pin no analog input pin required at microcontroller side.
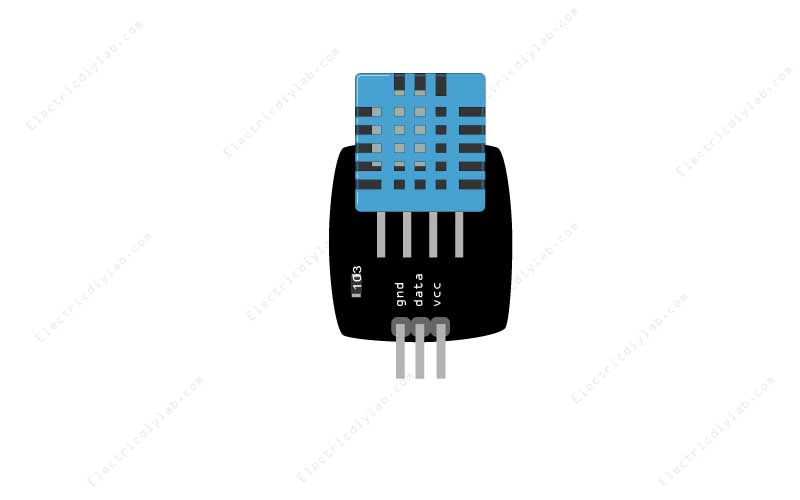
DHT 11 sensor is very simple it have only 3 terminals
gnd — connect with ground
data — data pin
vcc — power supply pin
Introduction of Micro SD card reader
Add the desired memory to your Arduino project to store the data, Media etc. Micro SD Card Reader Module also called Micro SD Adaptor which is designed for dual I/O voltages.
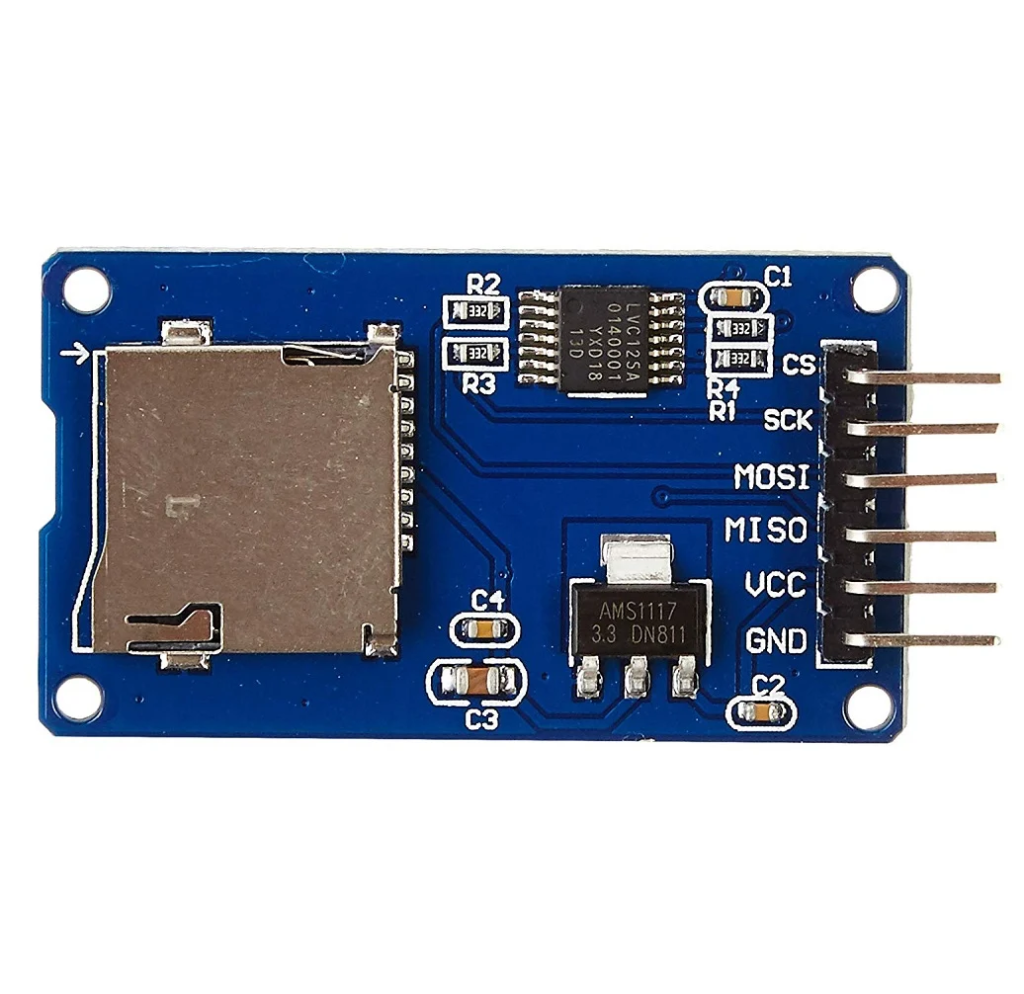
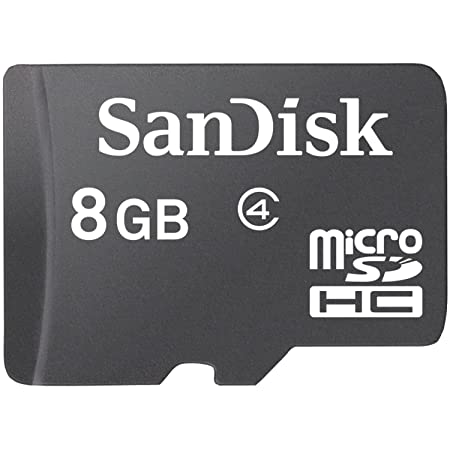
There are total of six pins (GND, VCC, MISO, MOSI, SCK, CS),
GND to ground,
VCC is the power supply,
MISO, MOSI, SCK is the SPI bus,
CS is the chip select signal pin;
Wiring diagram of Arduino+DHT11+SD card module temperature humidity data logger
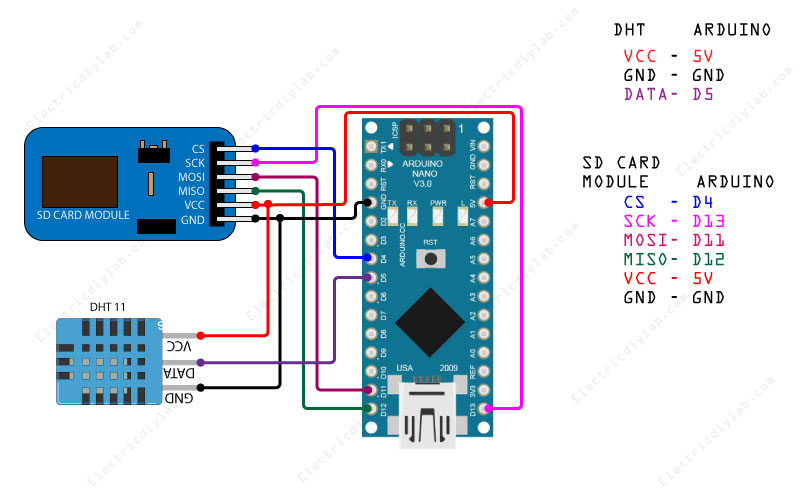
Do the wiring as shown in the image
Arduino Code for Wiring-diagram-of-Arduino+DHT11+SD-card-module-temperature-humidity-data-logger
#include <SPI.h>
#include <SD.h>
#include "DHT.h"


#define DHTPIN 5     // esp8266 D2 pin map as 4 in Arduino IDE
#define DHTTYPE DHT11   // there are multiple kinds of DHT sensors

DHT dht(DHTPIN, DHTTYPE);
File dataFile;
const int chipSelect = 4;
int timeSinceLastRead = 0;

void setup() {
  // Open serial communications and wait for port to open:
  Serial.begin(9600);
  dht.begin();
  Serial.println("Device Started");
  Serial.println("-------------------------------------");
  Serial.println("Running DHT!");
  Serial.println("-------------------------------------");

  while (!Serial) {
    ; // wait for serial port to connect. Needed for native USB port only
  }


  Serial.print("Initializing SD card...");

  // see if the card is present and can be initialized:
  if (!SD.begin(chipSelect)) {
    Serial.println("Card failed, or not present");
    // don't do anything more:
    return;
  }
  Serial.println("card initialized.");
  SD.remove("datalog.txt");


}

void loop() {


 if(timeSinceLastRead > 2000){

float h = dht.readHumidity();
float t = dht.readTemperature();
float f = dht.readTemperature(true);


 float hif = dht.computeHeatIndex(f, h);
    // Compute heat index in Celsius (isFahreheit = false)
    float hic = dht.computeHeatIndex(t, h, false);

 Serial.print("Humidity: ");
    Serial.print(h);
    Serial.print(" %\t");
    Serial.print("Temperature: ");
    Serial.print(t);
    Serial.println(" *C ");


dataFile = SD.open("datalog.txt", FILE_WRITE);
  if (dataFile) {

    dataFile.print("humidity: ");
    dataFile.print(h);
    dataFile.print("%\t");
    dataFile.print("temperature: ");
    dataFile.print(t);
    dataFile.println("C");
    dataFile.close();

  }


  // if the file isn't open, pop up an error:
  else {
    Serial.println("error opening datalog.txt");
  }

  timeSinceLastRead = 0;
}
delay(100);
  timeSinceLastRead += 100;

}
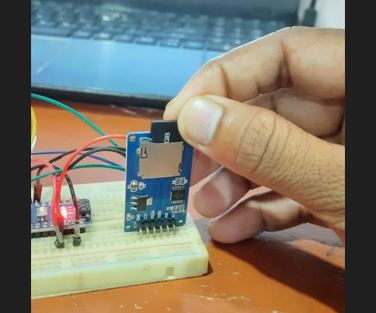
Upload the above code and insert the SD card in Micro SD card reader module
open the serial monitor you can also visualize data here on serial monitor

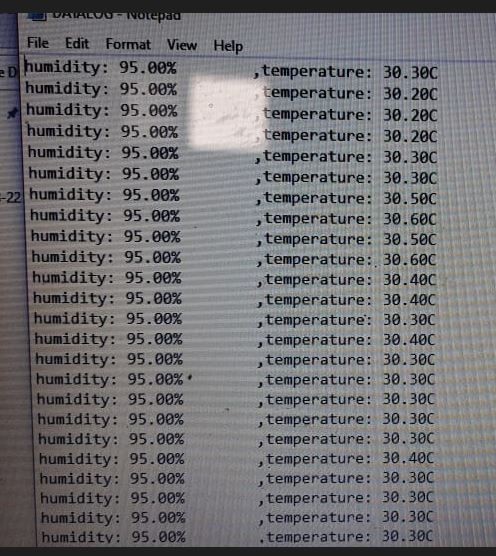
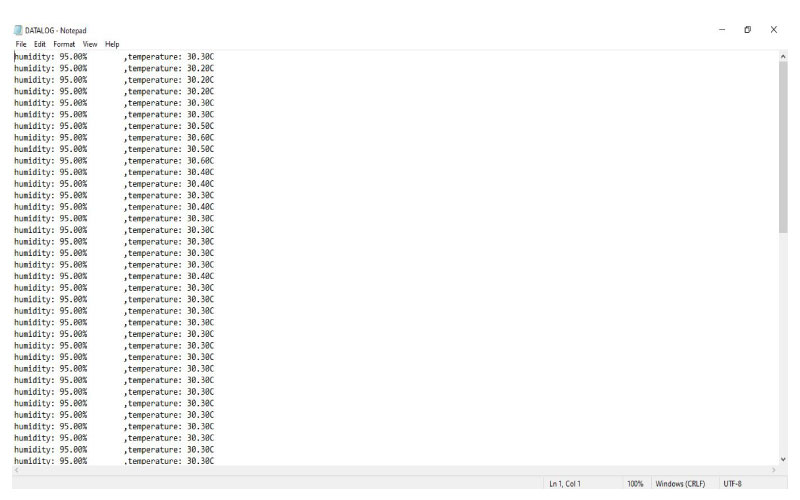
All this data is also logging in SD in text file format to get those data unplug the power supply to arduino and sensor
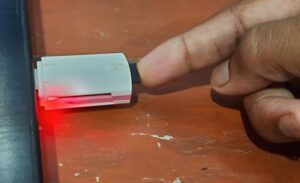
remove the SD card from Card reader module
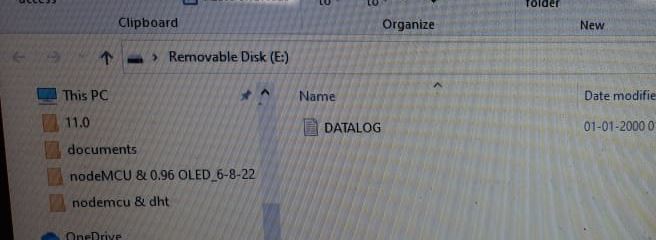
insert the card to your laptop and open the file “DATALOG.txt”
Hope you like this post in next post we will log data to cloud, like logging temperature and humidity data to google excel sheet using wifi module.

