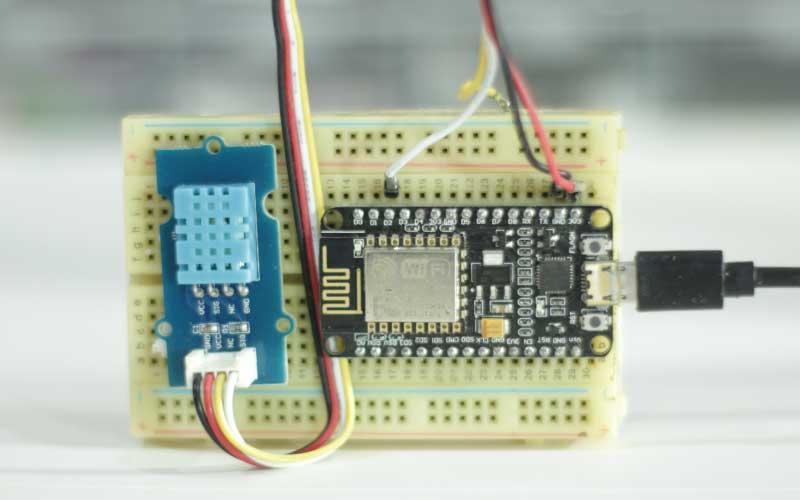
ESP8266 NodeMCU and DHT11 Sensor
In this article we will learn how to connect DHT11 DHT22 temperature and humidity sensor to ESP8266 NodeMCU.
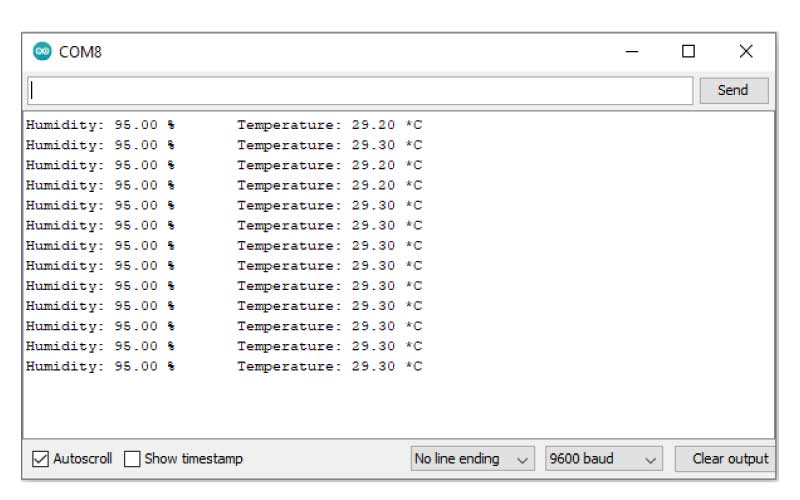
We will learn to connect DHT sensor with ESP8266 and visualize data on serial monitor.
Components required
- ESP8266 NodeMCU
- DHT11 or DHT22 sensor
- 3 jumper wire
- USB to micro USB cable for programming
Introduction of DHT11 sensor
DHT 11 is very basic and low cost digital temperature and humidity sensor.
it have capacitive humidity sensor and thermistor to measure temperature and humidity of surrounding air.
it produce digital signal at data pin no analog input pin required at microcontroller side.
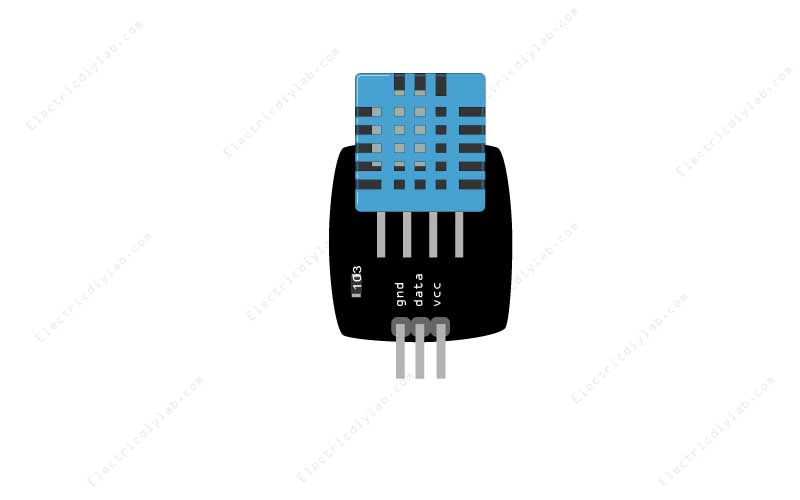
DHT 11 sensor is very simple it have only 3 terminals
gnd — connect with ground
data — data pin
vcc — power supply pin
Difference between DHT 11 and DHT 22
The DHT22 is the more expensive version which obviously has better specifications. Its temperature measuring range is from -40 to +125 degrees Celsius with +-0.5 degrees accuracy, while the DHT11 temperature range is from 0 to 50 degrees Celsius with +-2 degrees accuracy.
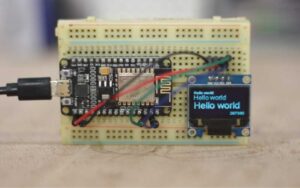
Connection of ESP8266 NodeMCU and DHT11 Sensor
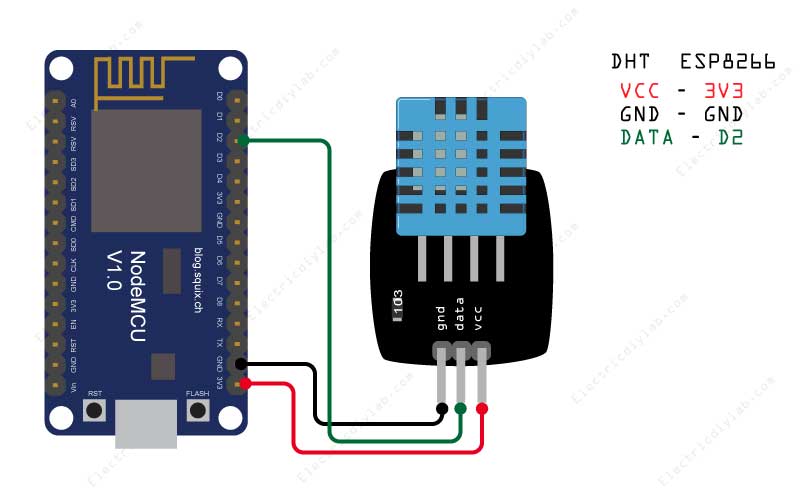
Do the wiring as shown in diagram
Library for DHT sensor
To run DHT 11 with NodeMCU ESP8266 we need hardware specific library called
‘ESP8266 and ESP32 OLED driver for SSD1306 displays‘
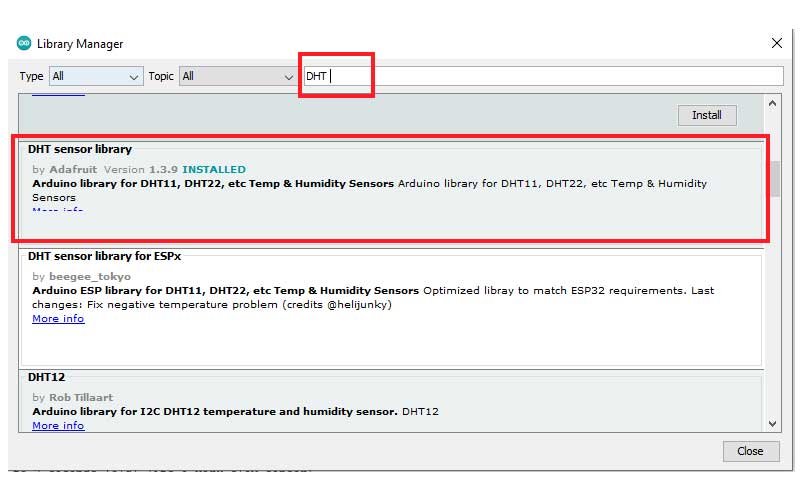
To install the library open arduino IDE & navigate to the Sketch > Include Library > Manage Libraries
Search by typing ‘DHT’. There should be a couple entries.
Look for DHT sensor library. Click on that entry, and then select Install.
Demo code
After successfully installing the library we will try by uploading a sample code to get the temperature and humidity data from DHT sensor on serial monitor.
Learn how to upload code to NodeMCU using Arduino IDE
#include "DHT.h"

#define DHTPIN 4     // esp8266 D2 pin map as 4 in Arduino IDE
#define DHTTYPE DHT11   // there are multiple kinds of DHT sensors

DHT dht(DHTPIN, DHTTYPE);

void setup() {
  Serial.begin(9600);
  Serial.setTimeout(2000);

  // Wait for serial to initialize.
  while(!Serial) { }

  dht.begin();

  Serial.println("Device Started");
  Serial.println("-------------------------------------");
  Serial.println("Running DHT!");
  Serial.println("-------------------------------------");

}

int timeSinceLastRead = 0;
void loop() {

  // Report every 2 seconds.
  if(timeSinceLastRead > 2000) {
    // Reading temperature or humidity takes about 250 milliseconds!
    // Sensor readings may also be up to 2 seconds 'old' (its a very slow sensor)
    float h = dht.readHumidity();
    // Read temperature as Celsius (the default)
    float t = dht.readTemperature();
    // Read temperature as Fahrenheit (isFahrenheit = true)
    float f = dht.readTemperature(true);

    // Check if any reads failed and exit early (to try again).
    if (isnan(h) || isnan(t) || isnan(f)) {
      Serial.println("Failed to read from DHT sensor!");
      timeSinceLastRead = 0;
      return;
    }

    // Compute heat index in Fahrenheit (the default)
    float hif = dht.computeHeatIndex(f, h);
    // Compute heat index in Celsius (isFahreheit = false)
    float hic = dht.computeHeatIndex(t, h, false);

    Serial.print("Humidity: ");
    Serial.print(h);
    Serial.print(" %\t");
    Serial.print("Temperature: ");
    Serial.print(t);
    Serial.println(" *C ");


    timeSinceLastRead = 0;
  }
  delay(100);
  timeSinceLastRead += 100;
}
Copy past the above code in Arduino IDE and upload the code
now open the serial monitor to have the temperature and humidity data of surrounding air.
please watch the below video
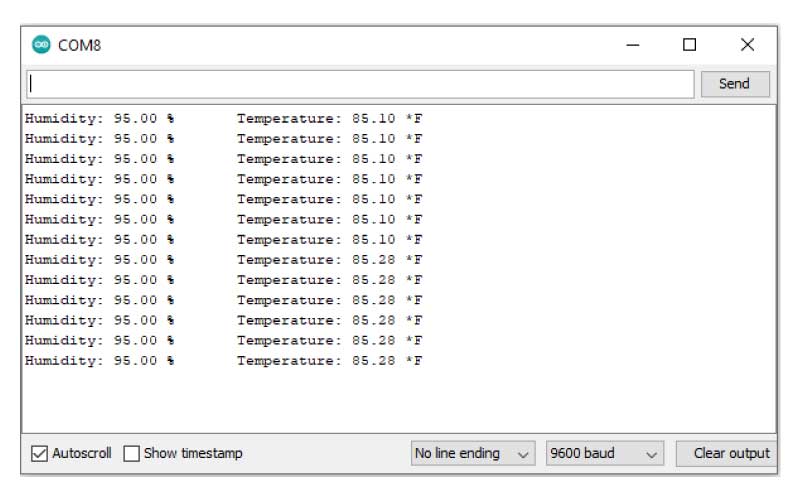
Code to display temperature in Fahrenheit
#include "DHT.h"

#define DHTPIN 4     // what digital pin the DHT22 is conected to
#define DHTTYPE DHT11   // there are multiple kinds of DHT sensors

DHT dht(DHTPIN, DHTTYPE);

void setup() {
  Serial.begin(9600);
  Serial.setTimeout(2000);

  // Wait for serial to initialize.
  while(!Serial) { }

  dht.begin();

  Serial.println("Device Started");
  Serial.println("-------------------------------------");
  Serial.println("Running DHT!");
  Serial.println("-------------------------------------");

}

int timeSinceLastRead = 0;
void loop() {

  // Report every 2 seconds.
  if(timeSinceLastRead > 2000) {
    // Reading temperature or humidity takes about 250 milliseconds!
    // Sensor readings may also be up to 2 seconds 'old' (its a very slow sensor)
    float h = dht.readHumidity();
    // Read temperature as Celsius (the default)
    float t = dht.readTemperature();
    // Read temperature as Fahrenheit (isFahrenheit = true)
    float f = dht.readTemperature(true);

    // Check if any reads failed and exit early (to try again).
    if (isnan(h) || isnan(t) || isnan(f)) {
      Serial.println("Failed to read from DHT sensor!");
      timeSinceLastRead = 0;
      return;
    }

    // Compute heat index in Fahrenheit (the default)
    float hif = dht.computeHeatIndex(f, h);
    // Compute heat index in Celsius (isFahreheit = false)
    float hic = dht.computeHeatIndex(t, h, false);

    Serial.print("Humidity: ");
    Serial.print(h);
    Serial.print(" %\t");
    Serial.print("Temperature: ");
    Serial.print(f);
    Serial.println(" *F\t");


    timeSinceLastRead = 0;
  }
  delay(100);
  timeSinceLastRead += 100;
}