Raspberry Pi Pico with OLED Display
Hello,
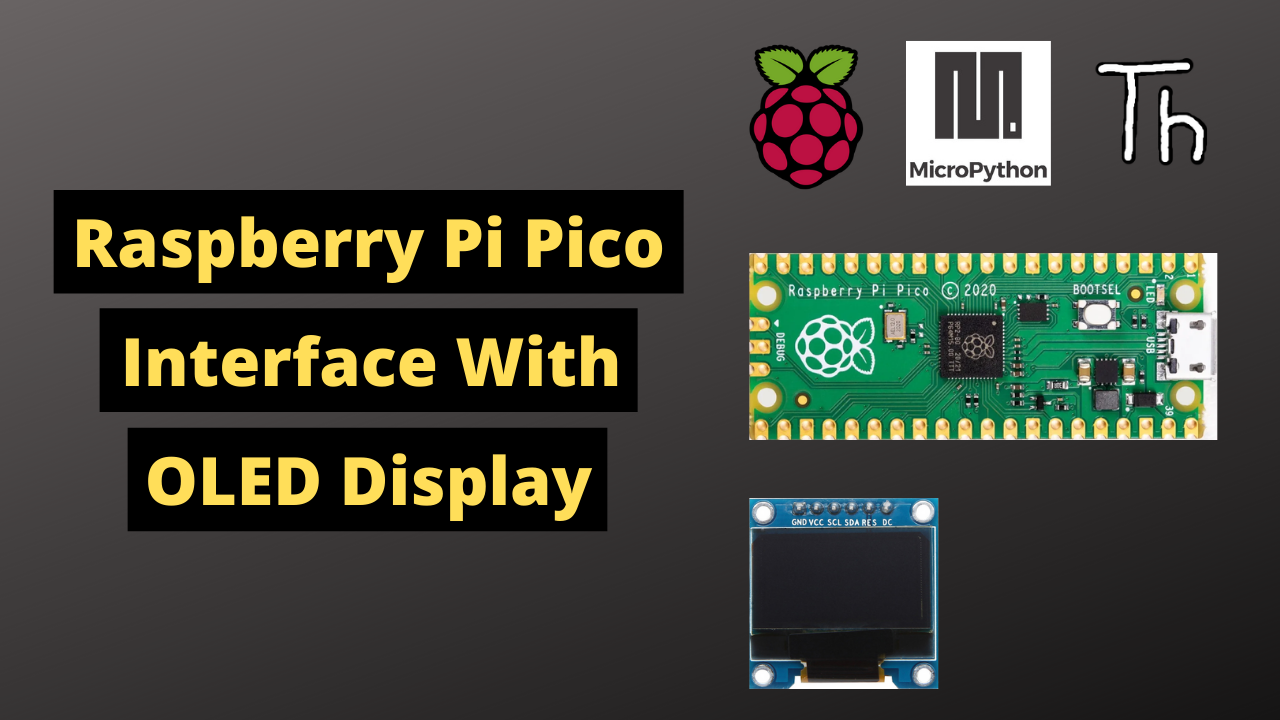
In this article we are going to interface OLED display with Raspberry Pi Pico
If you are new to Raspberry Pi Pico and wants to get started then click here.
here you can learn the basics of how to start with raspberry Pi Pico.
List of required components is given below.
Video
Required Components
Schematic Diagram
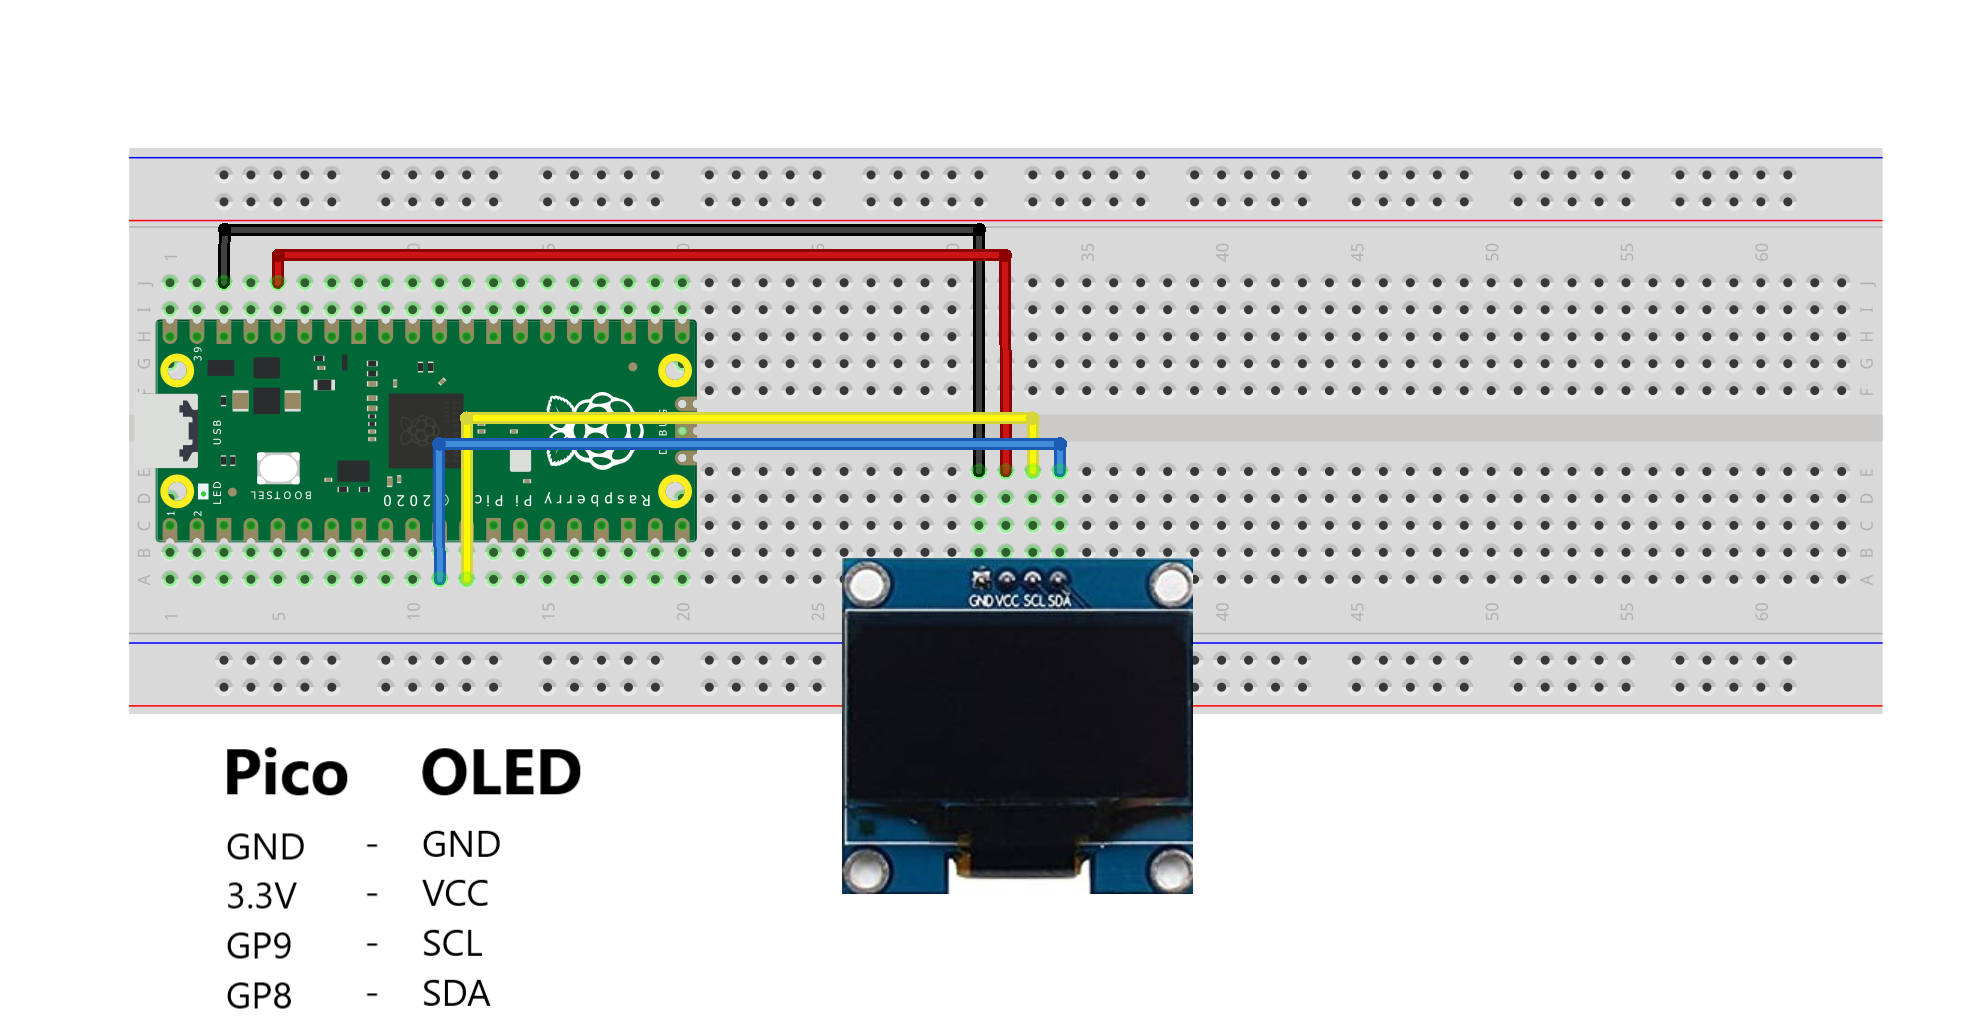
Follow this schematic diagram and make connections.
GND Pin of display with GND Pin of Raspberry Pi Pico
Vcc Pin of display with 3.3V Pin of Raspberry Pi Pico
SCL Pin of display with GP9 Pin of Raspberry Pi Pico
SDA Pin of OLED display with GP8 Pin of Raspberry Pi Pico
Coding
To write and upload program here i used Thonny IDE. You can download from here.
Here i write code in micropython.
There are two files for code. One is a library for OLED display and another is a main code file.
Main code is given below
import machine
import ssd1306
import time

oled = ssd1306.SSD1306_I2C(128, 64, machine.I2C(0))

oled.text("Hello everyone", 0, 0)
oled.show()
time.sleep(2)
oled.text("Welcome to my", 0, 10)
oled.text("channel", 0, 20)
oled.show()
time.sleep(2)
oled.text("Thank You", 0, 30)
oled.show()
Save this code in Raspberry Pi Pico and name it main.py
Now press run button.

