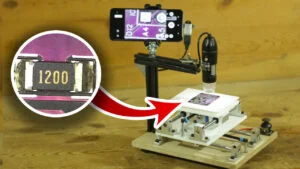
DIY Arduino based resistor reel cutting machine
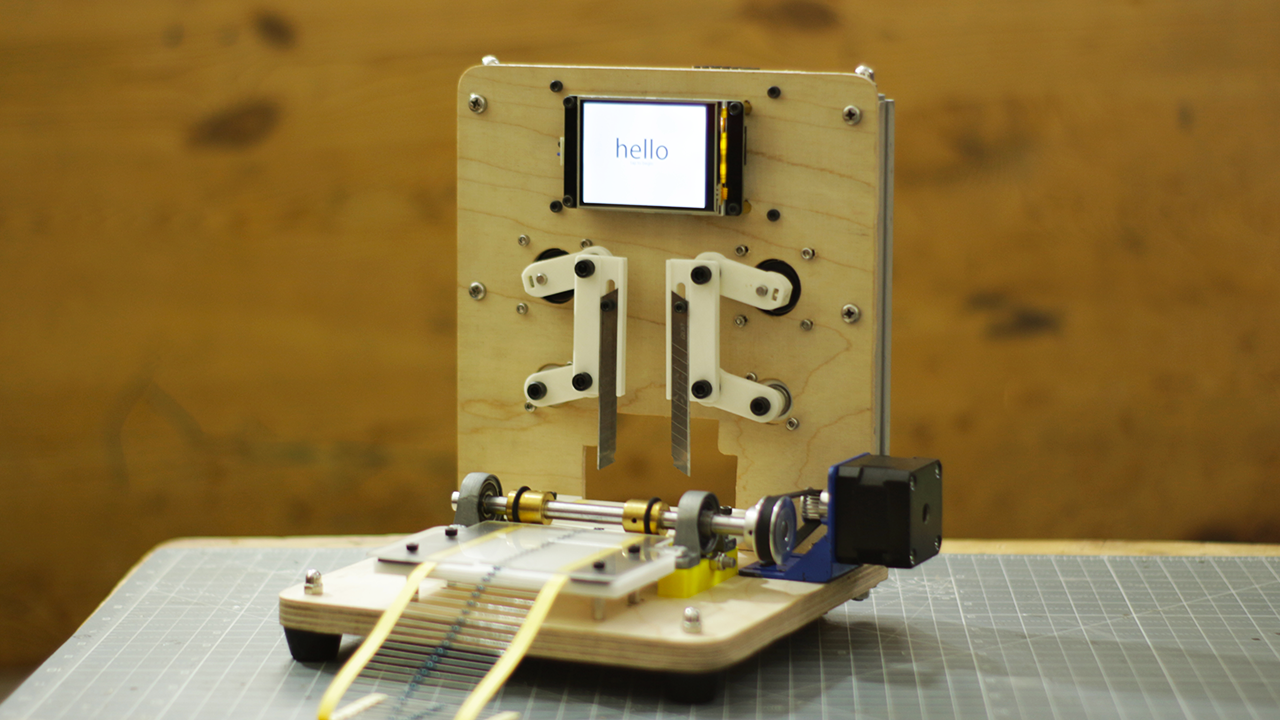
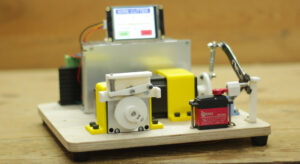
Hello guys in this video I have made a Arduino based resistor reel cutting machine this machine can cut reels in small quantities. how many resistor you need to cut in single set you can provide the input to the HMI and machine do it for you. two vertical blades are connected with stepper motor and resistor is feed horizontally via roller arrangement with is powered with stepper motor.
Video of arduino resistor cutting machine
please watch complete video for complete details.
Material used
- Nema 17 Stepper motor 3 nos.
- Multipurpose PCB
- A4988 stepper driver 2 nos
- L2988N motor driver
- Arduino nano
Circuit drawing
I have used my multipurpose PCB for Arduino based resistor reel cutting machine project. If you want to have this PCB
Please find the Gerber file from the link below so that you can order your own PCB
I suggest you JLCPCB.COM to choose your PCB manufacturer they really have very good service and low price
Multipurpose PCB link
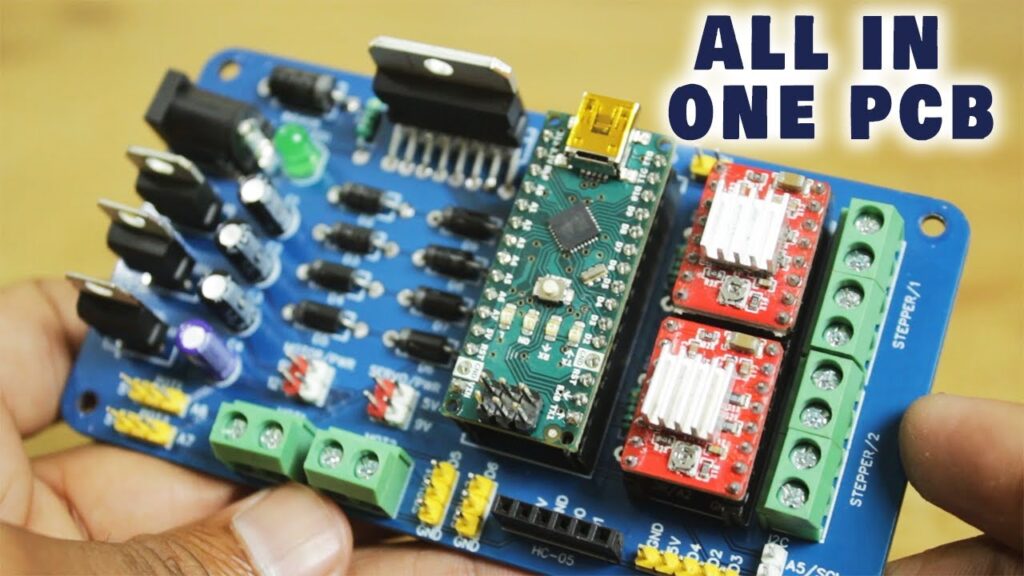
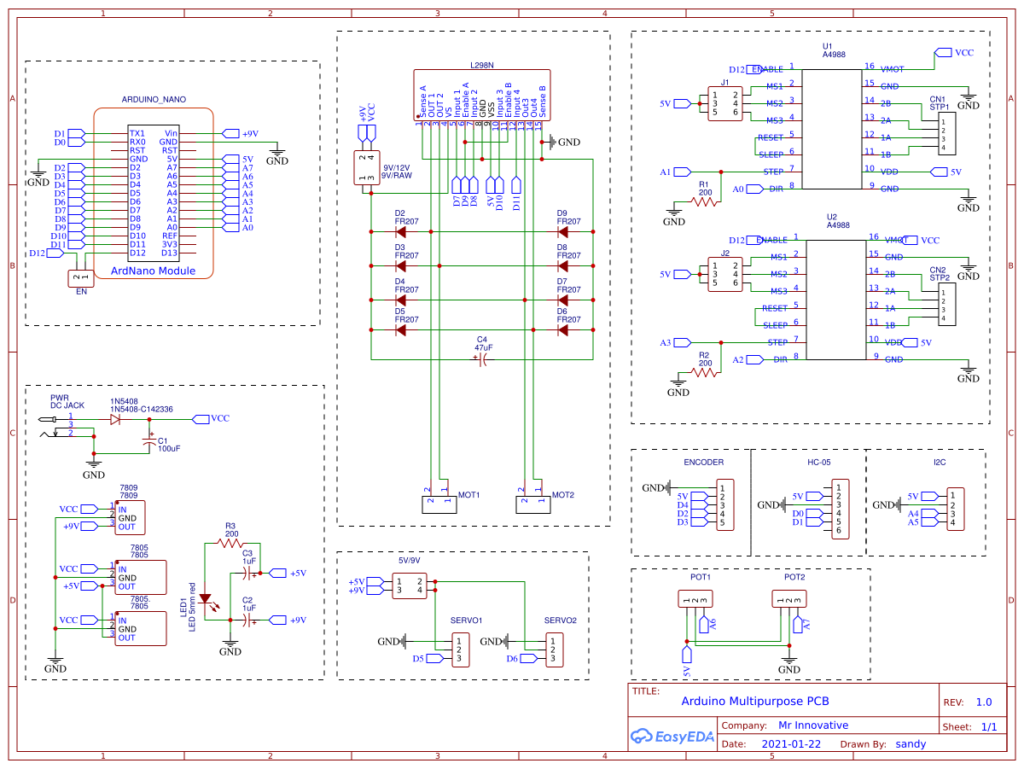
Both stepper motor of blade is controlled with A4988 stepper driver & roller stepper motor is controlled with L298N motor driver
12V supply i given to PCB
Arduino Code
below is the arduino code for the arduiuno based resistor reel cutting machine
#include <Stepper.h>
#include <Arduino.h>
#include "BasicStepperDriver.h"
#include "MultiDriver.h"
#include "SyncDriver.h"
#include <SoftwareSerial.h>
SoftwareSerial mySerial(2, 3); // RX, TX
int A = 0;
int B = 0;
int state = 0;
String message;
int QTY, numMessages, endBytes;
byte inByte;
int flag = 0;


Stepper myStepper(200, 8, 7, 10, 11);
#define MOTOR_STEPS 200
#define DIR_X 14
#define STEP_X 15
#define DIR_Y 16
#define STEP_Y 17
#define MICROSTEPS 16
#define EN 9
int nos = 35;
int UP = 80;
int DOWN = -80;
int count = 1;
BasicStepperDriver stepperX(MOTOR_STEPS, DIR_X, STEP_X);
BasicStepperDriver stepperY(MOTOR_STEPS, DIR_Y, STEP_Y);
SyncDriver controller(stepperX, stepperY);


void setup()
{
  numMessages, endBytes = 0;
  pinMode(EN, OUTPUT);
  digitalWrite(EN, HIGH);
  myStepper.setSpeed(60);
  Serial.begin(9600);
  mySerial.begin(9600);
  stepperX.begin(20, MICROSTEPS);
  stepperY.begin(20, MICROSTEPS);
  delay(500);
  controller.rotate(UP, UP);
  delay(500);
}

void loop()
{
  data();
  count=1;
  if (A > 0 && B > 0) {
    delay(1000);


    for (int i = 0; i < B; i++) {

      myStepper.step(A * nos);
      delay(500);
      stepperX.begin(1000, MICROSTEPS);
      stepperY.begin(1000, MICROSTEPS);
      controller.rotate(DOWN, DOWN);
      delay(500);
      stepperX.begin(75, MICROSTEPS);
      stepperY.begin(75, MICROSTEPS);
      controller.rotate(UP, UP);
      delay(500);
//Serial.print("done = ");
mySerial.print("n2.val=");
mySerial.print(count);
mySerial.write(0xff);
mySerial.write(0xff);
mySerial.write(0xff);
count++;

    }
    A=0;
    B=0;

  }
}

  void data() {
    if (state < 1) {
      if (numMessages == 1) { //Did we receive the anticipated number of messages? In this case we only want to receive 1 message.
        A = QTY;
       // Serial.println(A);//See what the important message is that the Arduino receives from the Nextion
        numMessages = 0; //Now that the entire set of data is received, reset the number of messages received
        state = 1;
      }
    }

    if (state > 0) {
      if (numMessages == 1) { //Did we receive the anticipated number of messages? In this case we only want to receive 1 message.
        B = QTY;
       // Serial.println(B);//See what the important message is that the Arduino receives from the Nextion
        numMessages = 0; //Now that the entire set of data is received, reset the number of messages received
        state = 0;
      }
    }


    if (mySerial.available()) { //Is data coming through the serial from the Nextion?
      inByte = mySerial.read();

      // Serial.println(inByte); //See the data as it comes in

      if (inByte > 47 && inByte < 58) { //Is it data that we want to use?
        message.concat(char(inByte)); //Cast the decimal number to a character and add it to the message
      }
      else if (inByte == 255) { //Is it an end byte?
        endBytes = endBytes + 1; //If so, count it as an end byte.
      }

      if (inByte == 255 && endBytes == 3) { //Is it the 3rd (aka last) end byte?
        QTY = message.toInt(); //Because we have now received the whole message, we can save it in a variable.
        message = ""; //We received the whole message, so now we can clear the variable to avoid getting mixed messages.
        endBytes = 0; //We received the whole message, we need to clear the variable so that we can identify the next message's end
        numMessages  = numMessages + 1; //We received the whole message, therefore we increment the number of messages received.

        //Now lets test if it worked by playing around with the variable.

      }
    }
  }
All of the required library you can fin from Arduino IDE itself or from Github.
If you want to change UP or Down throw of blade you can change following value in code
int UP = 80;
int DOWN = -80;
If you want to change the value of rotation of roller you can change the following value in the code
Mean if roller stepper rotate 35 steps it will pass one resistor through the blade.
int nos = 35;Nextion HMI
I have used nextion make HMI 2.4″ HMI
this HMI code will only work on the mention HMI (NX3224K024)
below is the ink of HMI code for arduiuno based resistor reel cutting machine
https://www.dropbox.com/s/sfspdukwbmgfl08/resistor_hmi.tft?dl=0