
DIY Arduino based Bobbin Winding Machine
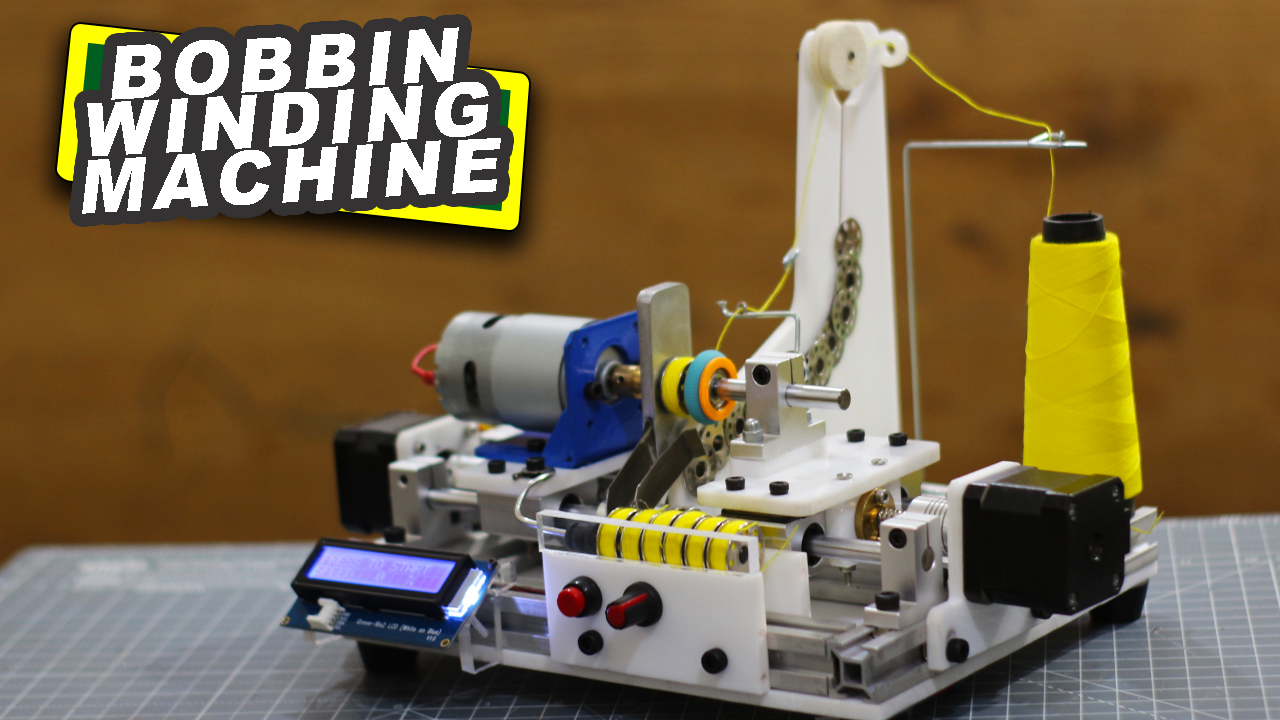
Hello makers in this post about DIY automatic Arduino based bobbin winding machine.
Bobbins are the small metal spools used in sewing machine, bobbins are filled with thread to stich cloths.
This bobbins are frequently getting empty and you need to rewind it with thread again and again.
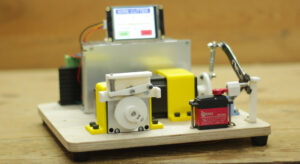
So I made this machine it can automatically wind thread to maximum 12 bobbins in single run. there are already many bobbin winding machines are available in market.
But there prices are more than 500$ but my this DIY arduino based bobbin winding machine can build under 100$.
Video
Material Required
Below is the list of Item which I used to build this machine, material is totally depends how you design your machine.
- Arduino Nano———————1
- L293D IC—————————1
- A4988 Stepper driver———–2
- Nema 17 Stepper motor——–2
- 775 DC motor——————–1
- Motor Clamp———————1
- SK8 8MM shaft clamp———-5
- SCL8UU bearing—————–4
- 8mm smooth rod—————-1mtr
- T8 lead Screw——————–1mtr
- T8 nut——————————2
- 20 x 20 Alu. profile————–2mtr
- 6mm Acrylic sheet————–8 sqft
- 16×2 LCD Display—————1
- 10k pot—————————-1
- Push Button———————-1
- Nichrome Wire———————10cm
- 5V relay—————————1
CAD File
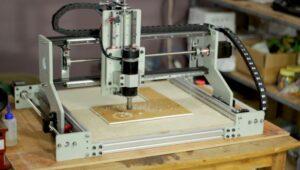
Major components of this machine is made up from 6MM white acrylic sheet which I have cut in my CNC router machine.

I have made available all components here in DXF format you can easily load it to any CAD/CAM software to modify or make the part as I made.
https://drive.google.com/file/d/1QyJXvmYkpBpPObIzJ7bNXRapYMHbHR7k/view?usp=sharing
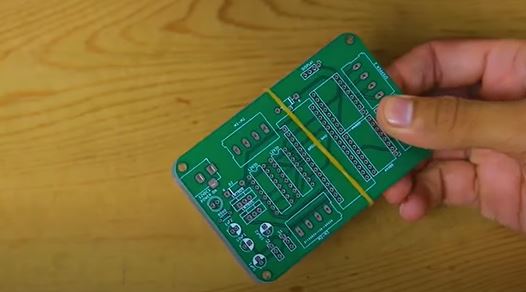
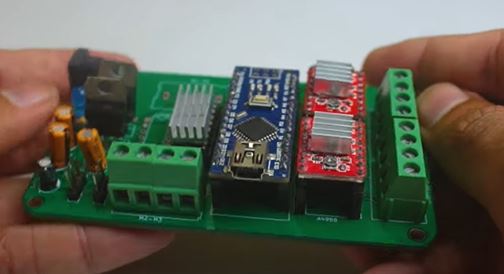
Circuit Drawing
Below is the circuit drawing of My multipurpose PCB which I have ordered from JLCPB.COM

Arduino Code
This is the arduino code I know this code is written in very bad manner but if you found any difficulty please leave comment below we will try to short them out.
#include <Wire.h>
#include "rgb_lcd.h"
rgb_lcd lcd;
#include <Servo.h>
Servo myservo;
int pos = 0;
int height = 128;
#include <Arduino.h>
#include "BasicStepperDriver.h"
#include "MultiDriver.h"
#include "SyncDriver.h"

#define MOTOR_STEPS 200
#define MOTOR_X_RPM 30
#define MOTOR_Y_RPM 30

// X motor
#define DIR_X A0
#define STEP_X A1

// Y motor
#define DIR_Y A2
#define STEP_Y A3

#define MICROSTEPS 16
BasicStepperDriver stepperX(MOTOR_STEPS, DIR_X, STEP_X);
BasicStepperDriver stepperY(MOTOR_STEPS, DIR_Y, STEP_Y);
//SyncDriver controller(stepperX, stepperY);
MultiDriver controller(stepperX, stepperY);


int Enable = 5;
int Mot = 4;
int pot = A7;
int val = 0;
int button = 2;
int state = 0;
int laststate = 0;
int relay = 6;

void setup() {
 //Serial.begin(9600);
 lcd.begin(16, 2);
lcd.setCursor(0, 0);
 lcd.print ("BOBBIN WINDING");
lcd.setCursor(0, 1);
 lcd.print ("MACHINE");
 pinMode(Mot,OUTPUT);
 pinMode(relay,OUTPUT);
 pinMode(button,INPUT_PULLUP);
myservo.attach(11);
stepperX.begin(MOTOR_X_RPM, MICROSTEPS);
stepperY.begin(MOTOR_Y_RPM, MICROSTEPS);
myservo.write(180);

delay(2000);
controller.rotate(0, -600);
lcd.clear();
}

void loop() {


val = analogRead(pot);
val = map(val, 0, 700, 0, 100);
analogWrite(Enable,val);
 lcd.setCursor(0, 0);
 lcd.print ("PRESS TO START");
 lcd.setCursor(0, 1);
 lcd.print ("SPEED");
 lcd.setCursor(8, 1);
 lcd.print (val);
 lcd.setCursor(12, 1);
 lcd.print ("%");


if(!digitalRead(button)){

state = 1;
lcd.clear();
lcd.setCursor(0, 0);
 lcd.print ("RUNNING....");
 lcd.setCursor(0, 1);
 lcd.print ("PRESS TO STOP");
}

if (state==1)

{
controller.rotate(-750, 0);
controller.rotate(0, 100);
delay(200);
controller.rotate(750, 0);
servoUP();
delay(1000);
controller.rotate(-350, -250);
delay(1000);
servoDown();
delay(2000);
controller.rotate(-200, -50);
delay(500);
relayON();
delay(500);
windingON();
delay(75600);
windingSTOP();
delay(1000);
controller.rotate(550, 100);
controller.rotate(0, 100);
delay(1000);


}

  }


void first(){
   controller.rotate(-560, 0);
    delay(1000);
    controller.rotate(560, 0);
    delay(1000);

}


void engage(){
   controller.rotate(-365, -110);

 }

 void disengage(){
   controller.rotate(365, 0);

 }

void SupportIN(){
   controller.rotate(0, -90);

 }

 void SupportOUT(){
   controller.rotate(0, 750);

 }


 void servoUP(){
  for (pos = 180; pos >= height; pos -= 1) {

    myservo.write(pos);
    delay(30);
  }

 }

 void servoDown(){
  for (pos = height; pos <= 180; pos += 1) {
    myservo.write(pos);
    delay(30);
  }
 }

 void windingON(){

digitalWrite(Mot,HIGH);

 }


 void windingSTOP(){
  digitalWrite(Mot,LOW);
 }

  void relayON(){

digitalWrite(relay,HIGH);
delay(1000);
digitalWrite(relay,LOW);
 }
So that’s it for this project hope you like this project any question you are welcome in comment box.


Hi,
Good job.
Where is your EasyEDA file?
Regards.
Osm work